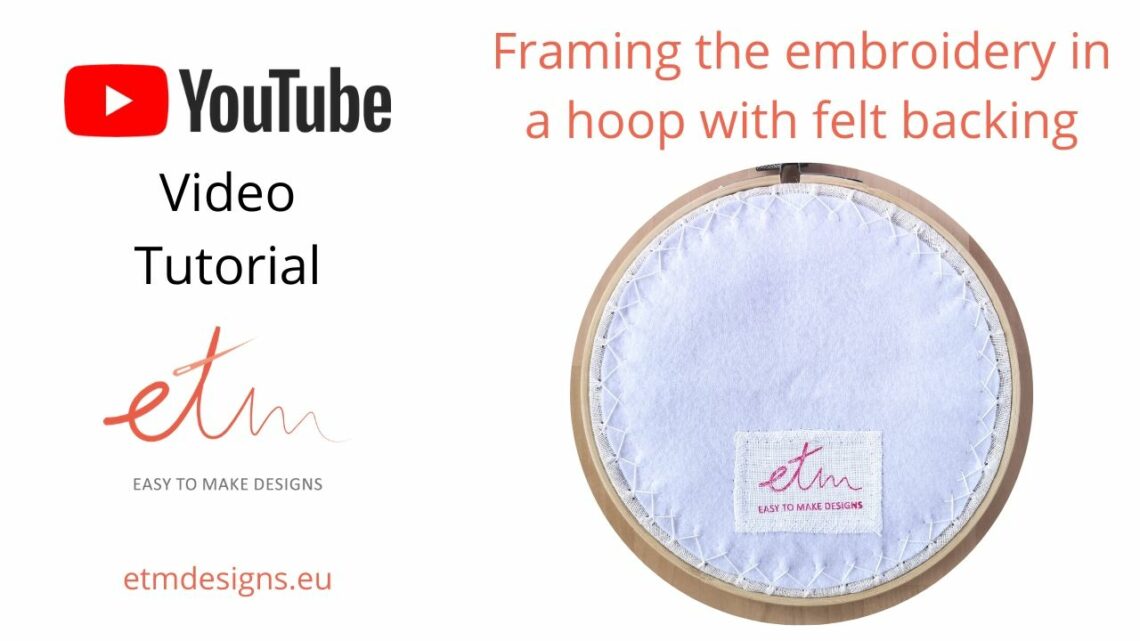
Framing the embroidery in a hoop video tutorial
After you finish embroidering, wash, air dry, and iron the embroidery. Washing will remove any dust, stains from the hands, and tracing marks. The water-soluble pen marks will dissolve in water, and the heat will erase friction pen marks.
Frame the embroidery in a hoop:
- Separate the pieces of the embroidery hoop and use the inner circle as a template.
- Trace around the hoop onto the felt material.
- Cut out the felt circle. Set it aside for a later step.
- Place your washed and ironed embroidery securely in the hoop. Stretch the fabric in the hoop until it is taut and smooth. Watch out not to deform the embroidery as you stretch the fabric. Tighten the screw as much as you can so the material does not lose the tension.
- Trim around the excess fabric leaving at least 2,5 cm (1 inch). Be sure to plan for this when you choose your hoop size and cut your embroidery fabric in the beginning.
- Thread a needle with enough thread to go all the way around the circle. Leave the loose end of 4-5 cm (1,5-2 inches) in the end. Sew around the edge of the excess fabric with large running stitches. The stitches should be about 1 cm (0,4 inches) away from the fabric edge.
- When you reach the beginning of the stitches, pull the thread to gather the edges in toward the center. Take a backstitch or two to secure the gathering, then tie a large knot close to the fabric.
- Take the circle of the felt fabric that you’ve set aside earlier. If you want to label the back of your work, this is the time to do it. Embroider your name, the date or a special message on the felt. Another option is to write or stitch onto twill tape and stitch that onto the felt. I’ve stamped my logo on a piece of linen and sew it on the felt.
- Place the felt circle on the back of the embroidery and secure it with pins. Pins will help you to have equal tension and will keep the felt in place while you stitch.
- Stitch around the edges. Make large opened herringbone stitches. These will help secure the felt and will keep the tension.
- Continue around the hoop and secure the end with a hidden knot.
Watch a video below and learn how to frame your finished embroidery art in a hoop!


