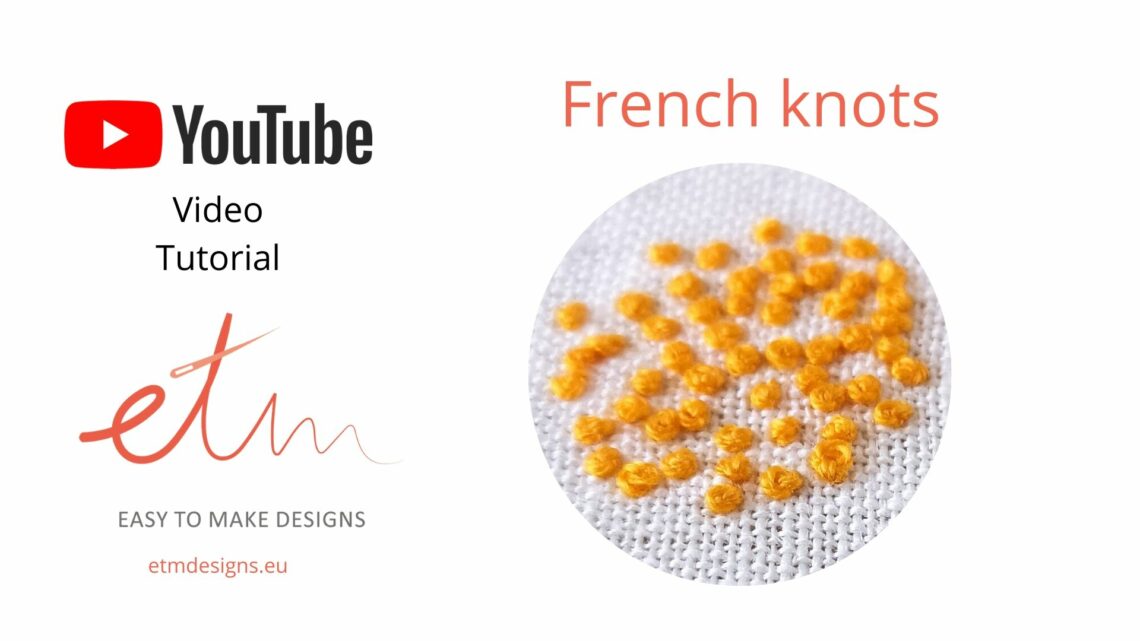
French knots video tutorial
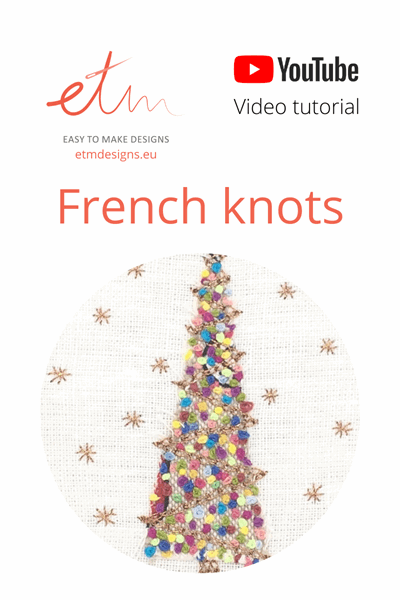
In this video tutorial I show you how to make a French knot stitch. Simple and clear video for easy french knots!
The French knot stitch is an embroidery technique in which the thread is knotted around itself in a specific way. This stitch has a reputation for being one of the most difficult but I find it very simple and I like to use it. Follow these simple tips and you’ll love French knots as I do:
- Wrap the thread around the needle 2 times (3 times is maximum). If you need a bigger knot – use thicker thread or more strands
- Leave a small space between the beginning of the stitch and the place where you take the needle down into the fabric so your knot doesn’t pop to the back of the fabric
- Pull the thread slowly through the wraps to the back of the fabric, so the thread doesn’t knot on itself and keep the working thread under tension until the last possible moment as it passes to the back of the fabric
- Use a milliner needle instead of an embroidery needle. It has an eye that’s the same thickness as the shaft, so it’s easy to pass the needle through the tight wraps without getting hung up on the eye.
Check out this tutorial and learn this beautiful and versatile stitch!
If you would like to learn more about hand embroidery stitches, check out my blog post “The top 10 hand embroidery stitches you should learn“. Looking for some other hand embroidery stitch tutorial? Check out my Blog’s tab Video tutorials or my YouTube channel and learn!
Looking for a project where you could use the French knots?
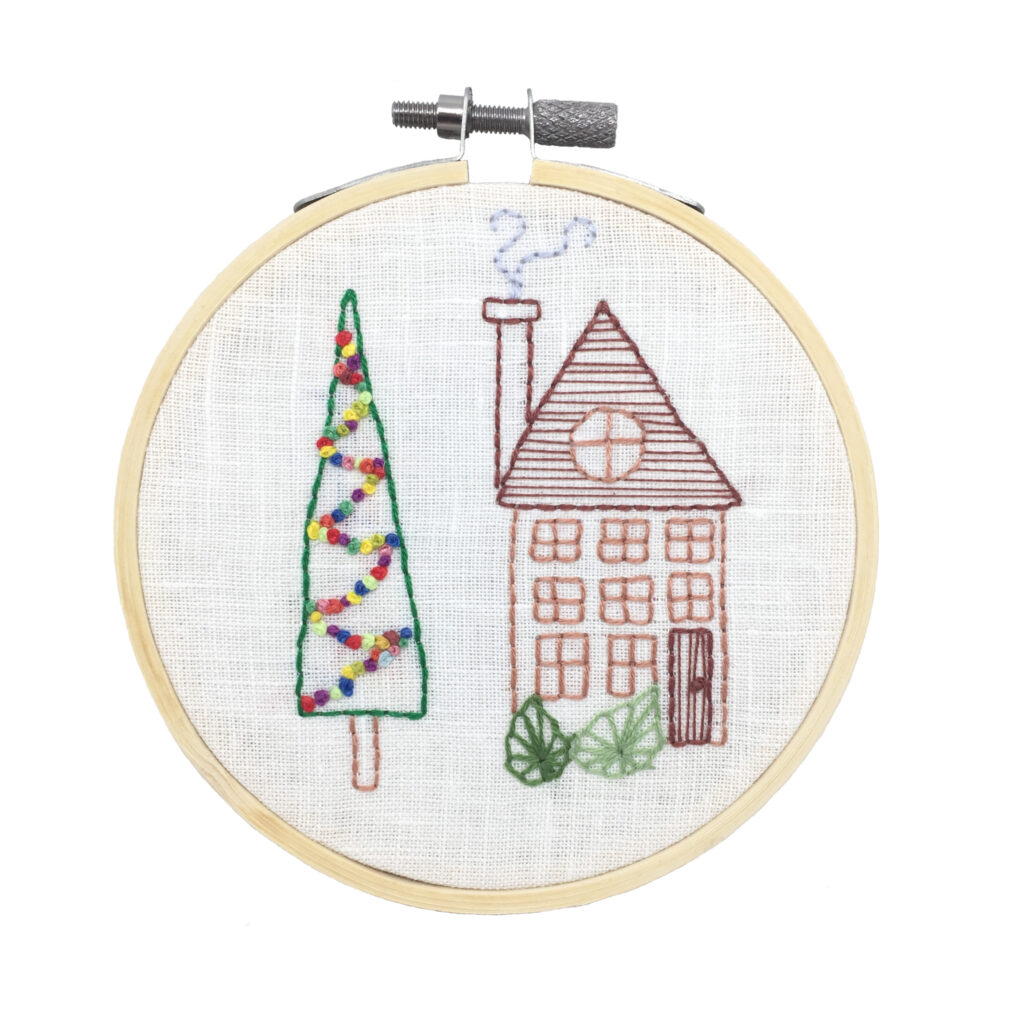
Christmas House embroidery pattern
☆ 8-page PDF pattern and embroidery instructions with Full-size printable stitching pattern, stitching guide, Color guide, Material list, Embroidery tips, Instructions for transferring pattern and finishing your hoop
☆ The pattern is written in English
☆ The size of the finished hoop – 10 cm (4 inches)
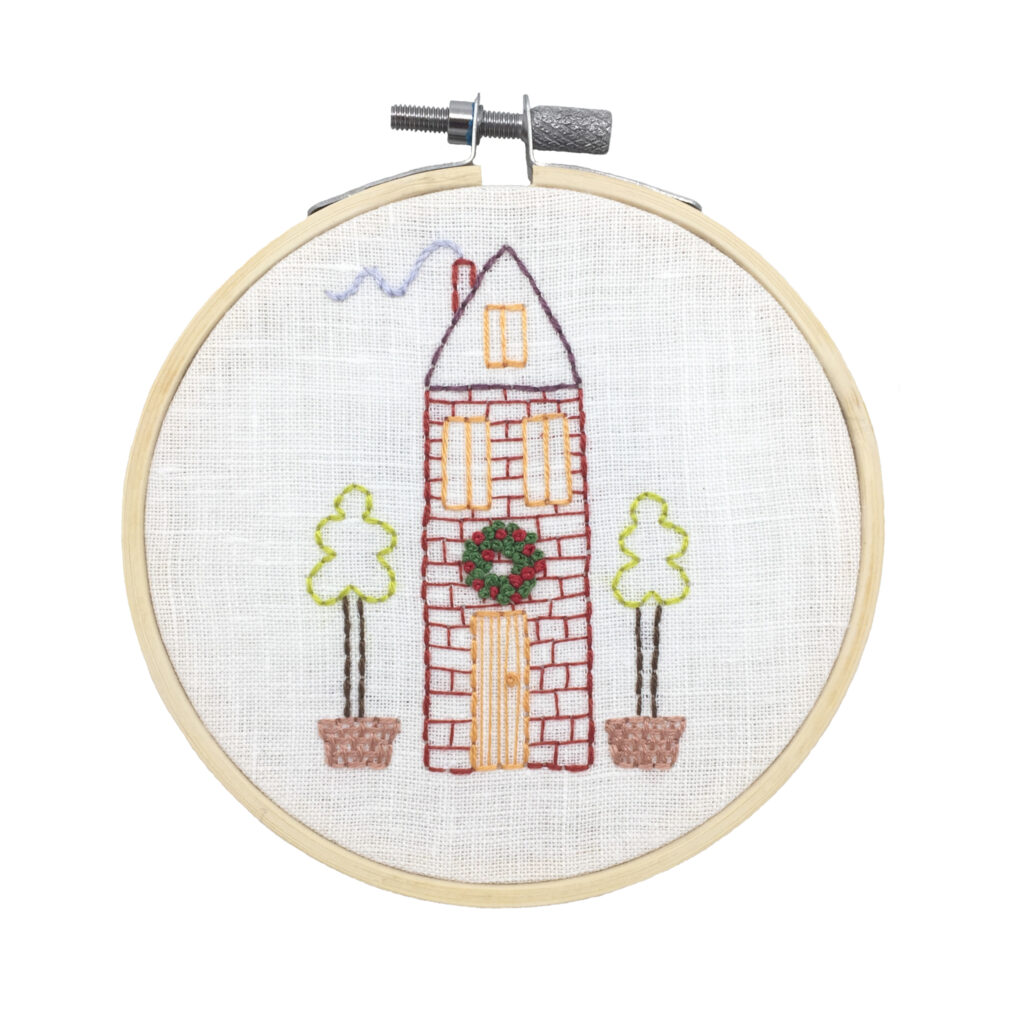
Christmas House with a wreath embroidery pdf pattern
☆ 8-page PDF pattern and embroidery instructions with Full-size printable stitching pattern, stitching guide, Color guide, Material list, Embroidery tips, Instructions for transferring pattern and finishing your hoop
☆ The pattern is written in English
☆ The size of the finished hoop – 10 cm (4 inches)
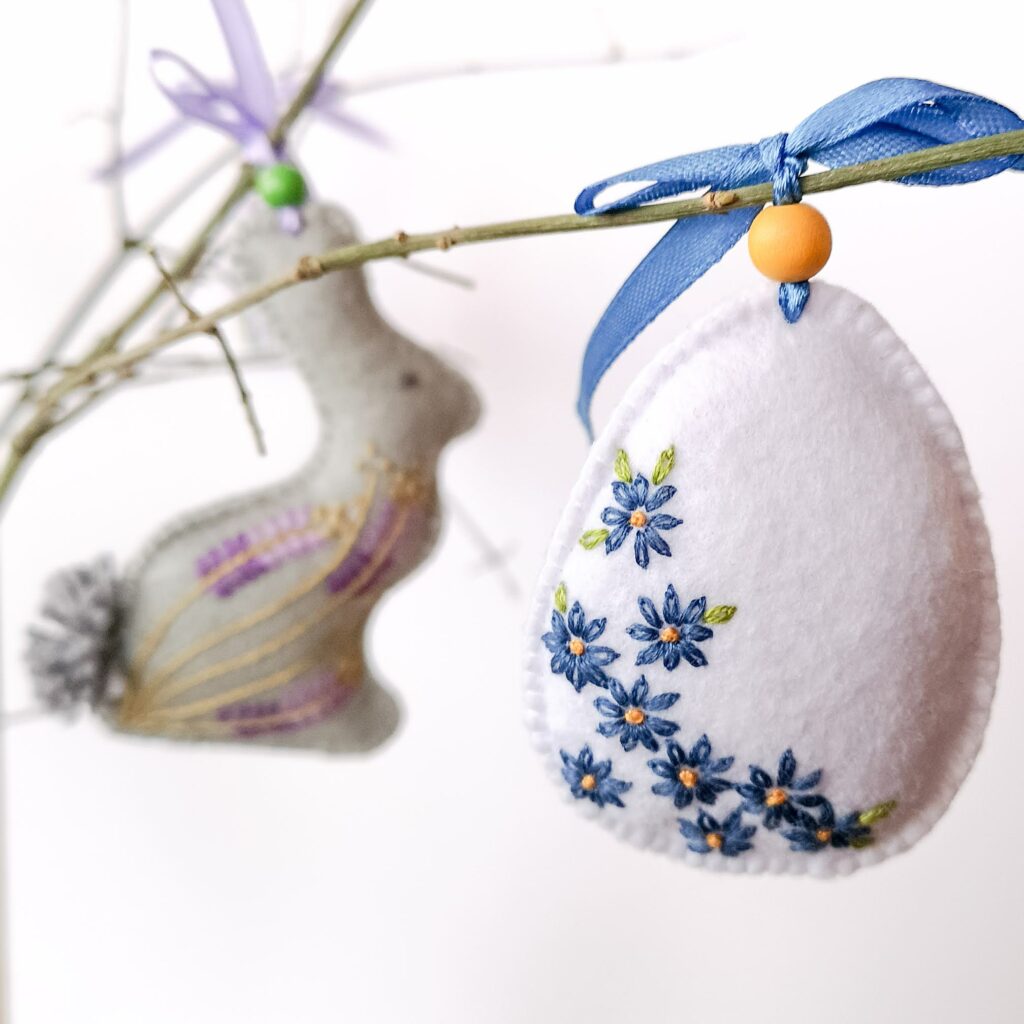
Easter Egg ornament Tutorial + FREE pattern download
Let’s create some Easter eggs with embroidered Daisies to make your Easter decor unique and unforgettable. You will be able to use these Easter ornaments for many years. Decorate your Easter tree or make a special gift for your friends and family!
The size of the finished Egg decoration will be 5,5 cm x 7 cm (2.2 x 2.8 inches)
You will find a full Tutorial on the blog HERE.
