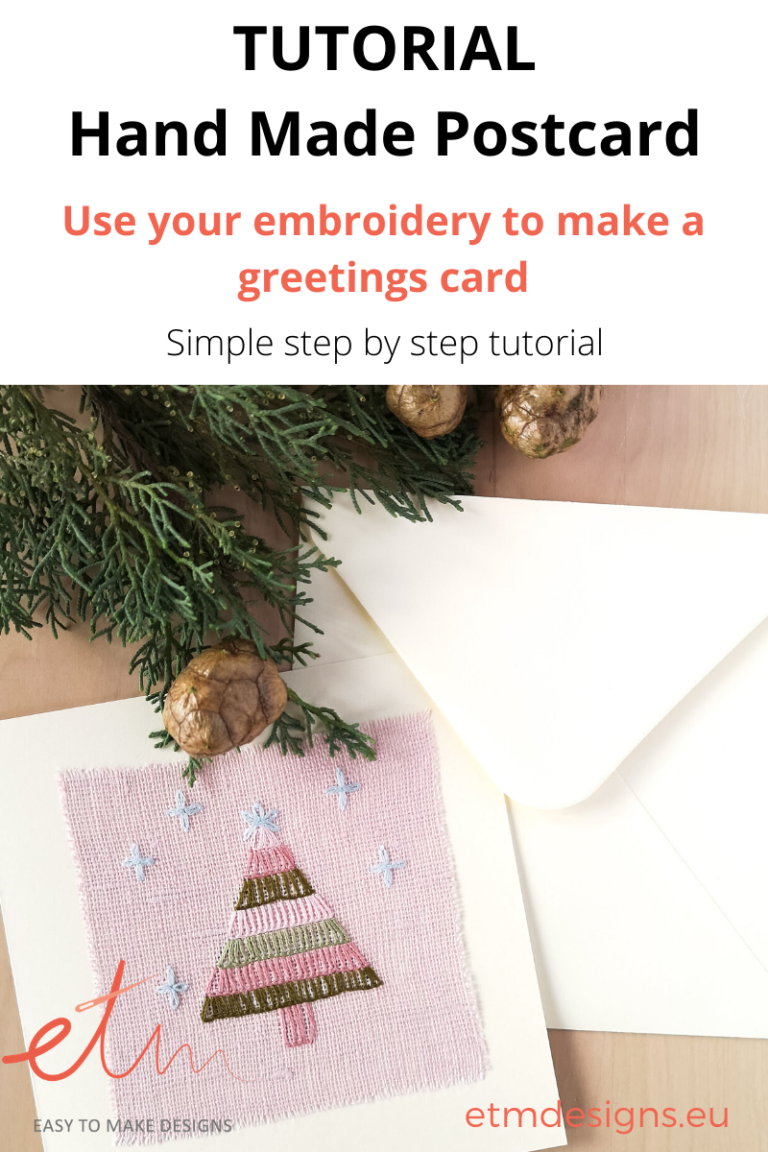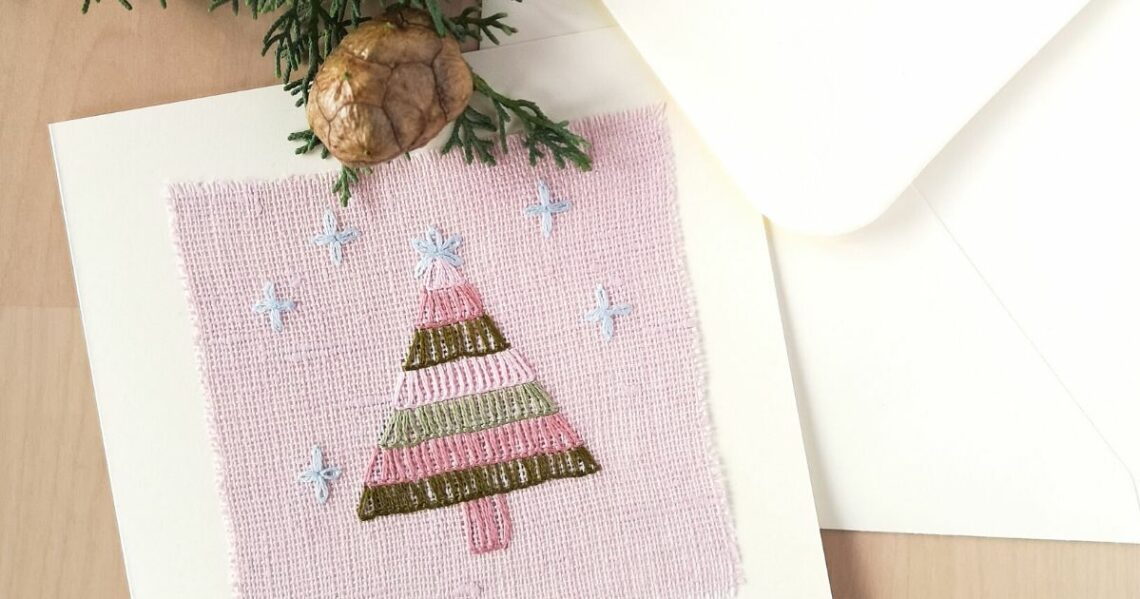
Christmas Greetings Card Tutorial
Make a special greetings card from your hand embroidery
“To write is human, to receive a letter: Divine!”
― Susan Lendroth
Now it’s this time of the year when our mind is occupied with Christmas hustle and bustle. We put up the tree and turn on the lights, we bake cookies and wrap the gifts…
During this holiday marathon, we sometimes forget that showing a little bit of attention is more important than all the precious gifts and all the glitter.
I think that sending a handwritten holiday greetings card is a perfect way to show your attention to your friends or family. And you can create it with your hands! This simple step-by-step tutorial will help you to create a handmade greetings card with your embroidery that would be a precious sign of your attention.
Did I convince you? If yes, let’s get to work!
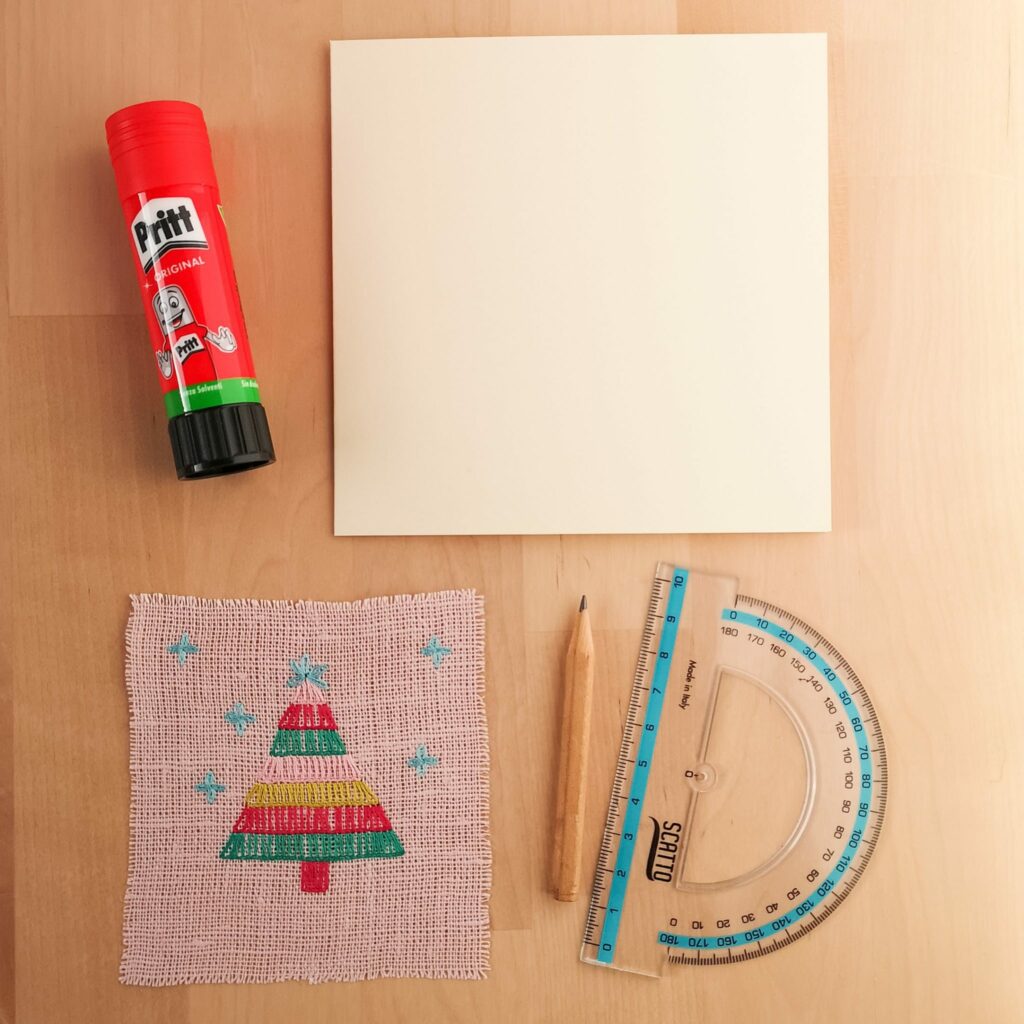
For this project you will need:
- Folded blank greetings card 13,5 x 13,5 cm (5,3 x 5,3 inches). I used already precut one, but you can definitely make it yourself from the heavy paper (240 gsm would be perfect)
- Embroidered piece. I’ve cut mine into 10 x 10 cm (4 x 4 inches) square
- Pencil
- Ruler
- Paper glue
Sign up for the Practical Embroidery newsletter and download this small Christmas tree pattern for free!
Method:
Draw the lines of the shape of the embroidery you want to attach on the paper card, leaving the edges of 0,5 cm (0.2 inches). If your embroidery is 10 x 10 cm – your square should be 9 x 9 cm, centred on the card.
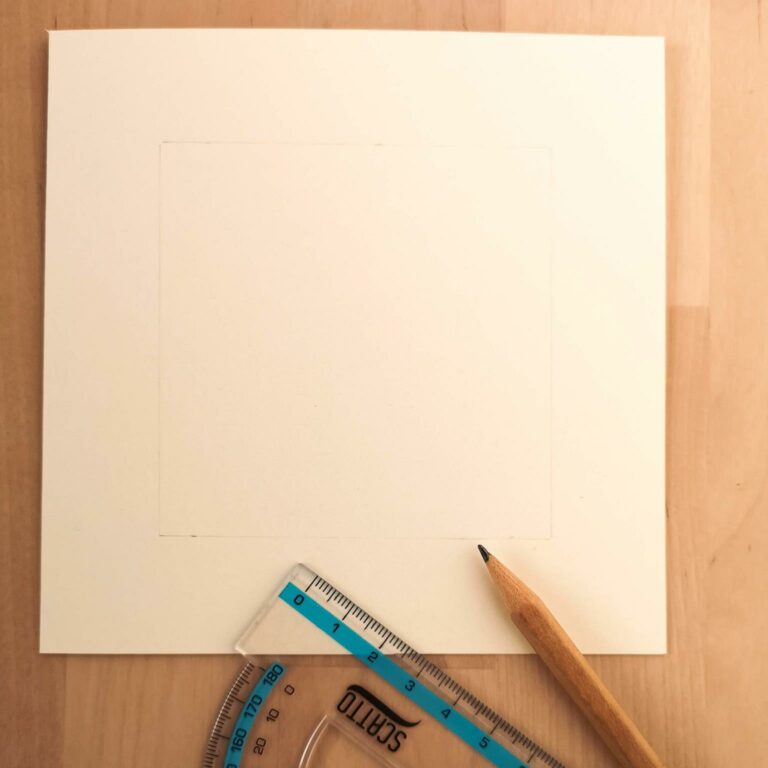
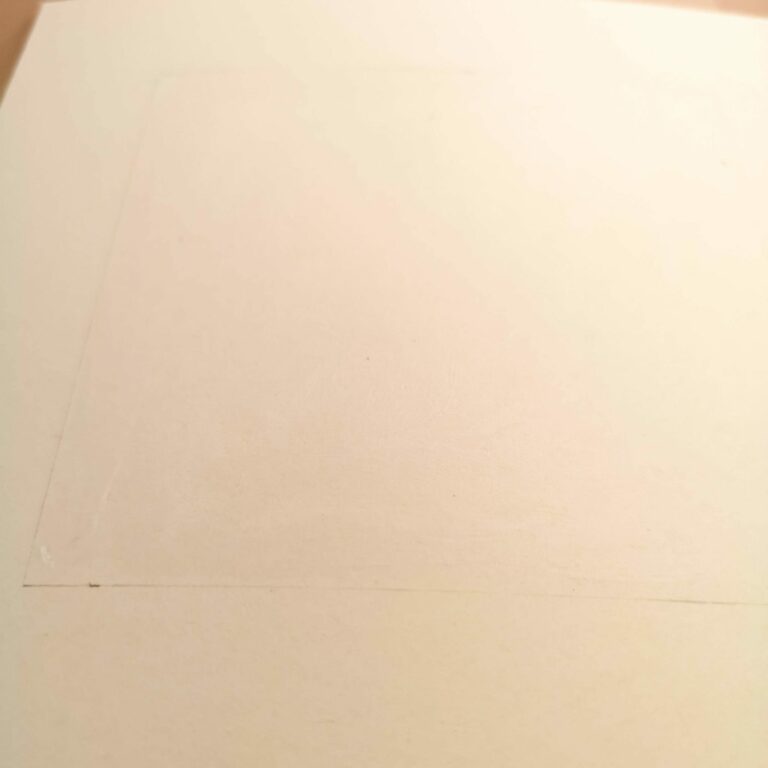
Apply the paper glue inside the shape you have drawn. Pay attention to not go out of the lines as the glue may leave glitter signs, and you don’t want that.
Attach the embroidery on the card. Start from the centre and gently slide with your finger towards the edges, so no wrinkles would form and all the embroidery is attached evenly.
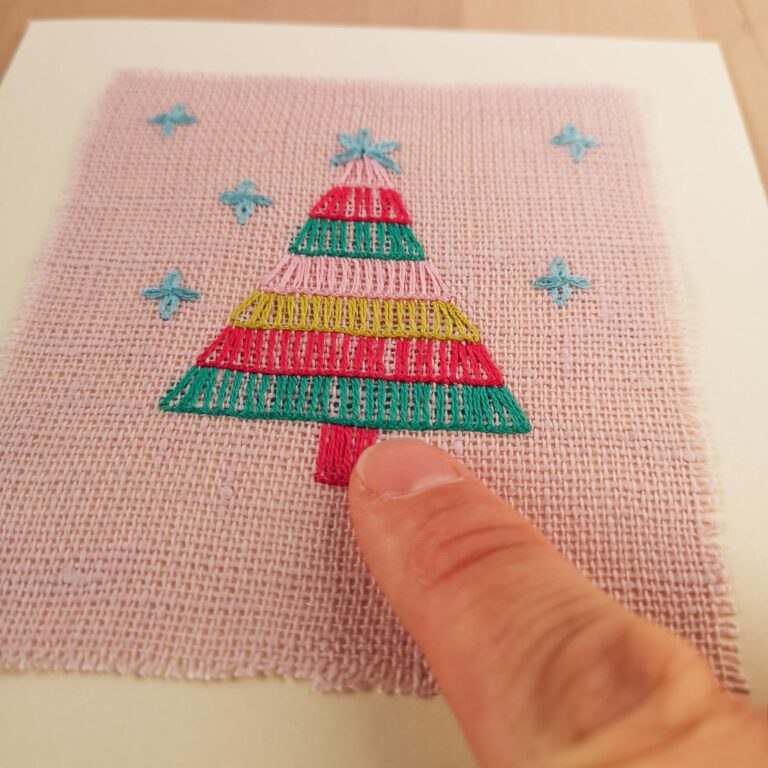
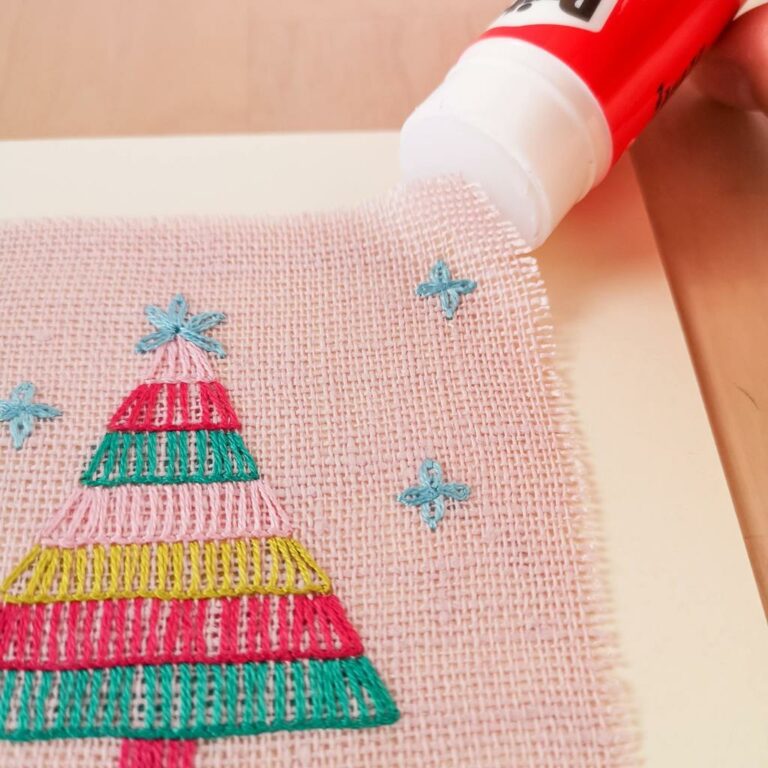
As we left 0,5 cm edges without the glue, you will need to additionally secure the corners of the embroidery. Apply some glue directly on the corner of the fabric and press it to the paper card. Repeat it with all the corners.
Leave it to dry for 20 min.
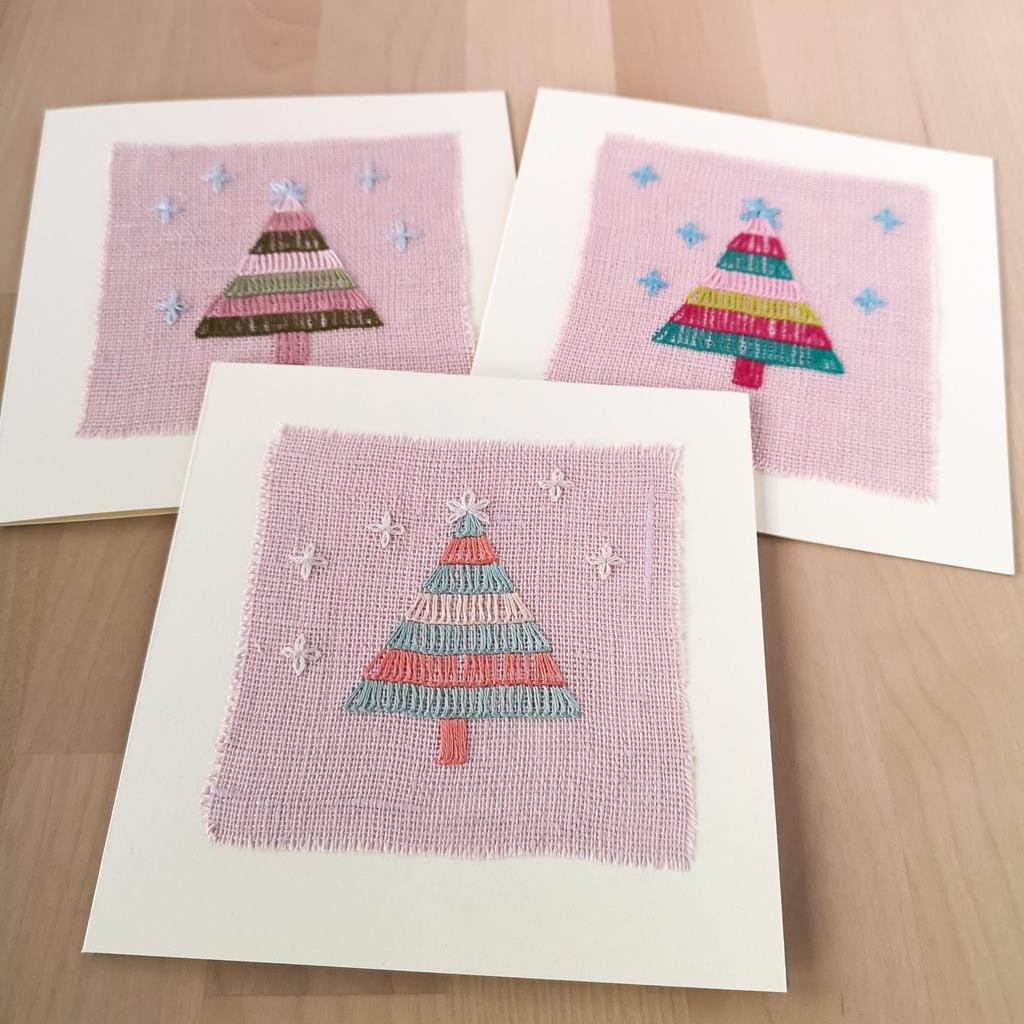
Your card is ready! Send some love!
Write a lovely personal message inside and hurry out to the post office!
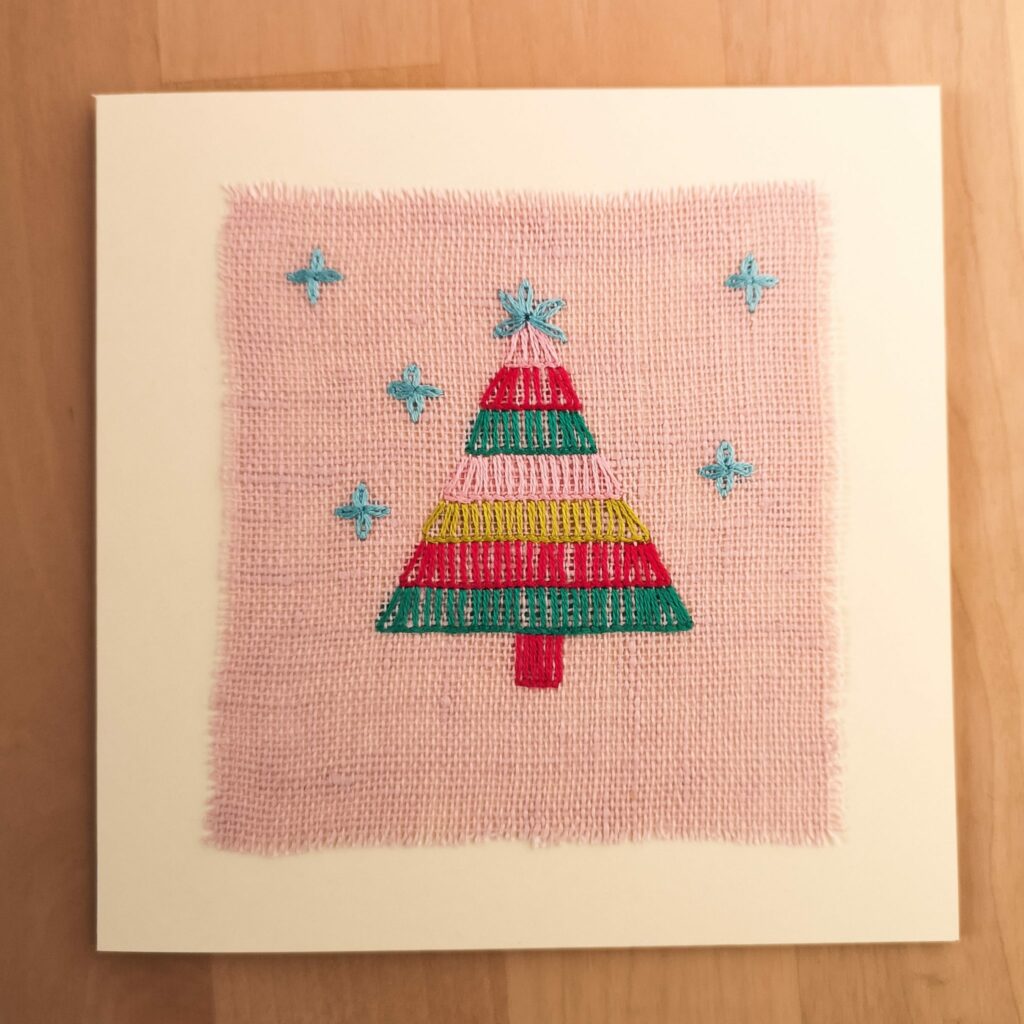
Congrats! Your greetings card is done!
Share it!
I hope you enjoyed this project and are happy with the outcome.
P.S.: If you have an idea for your own embroidery pattern for this project, you might want to check out tutorials for some embroidery stitches here.
