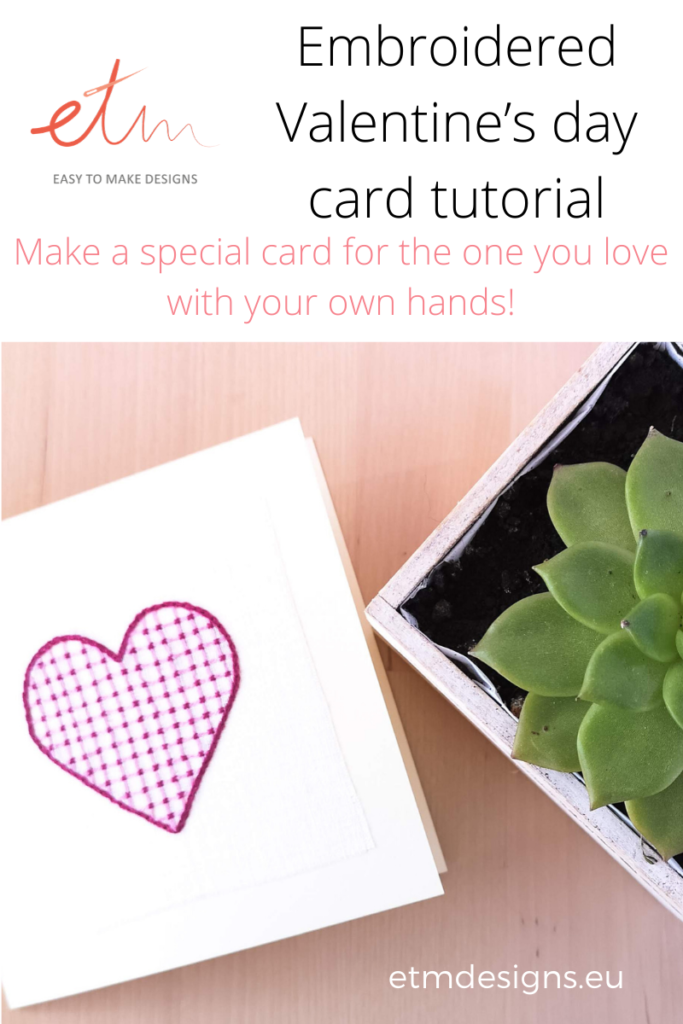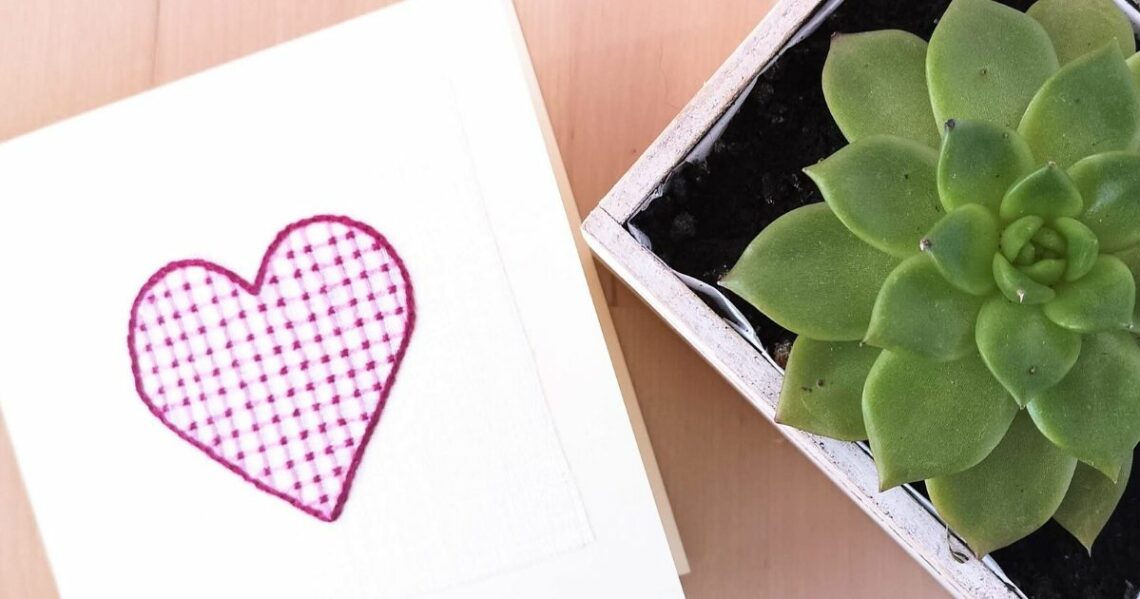
Embroidered Valentine’s day card tutorial
Make a special card for the one you love with your own hands!
Do you feel how the screens are becoming pinker every day? Yes, it’s that time of the year! Hearts, candies, roses, and love all around us. Valentine’s day is coming!
If you are looking for something easy and quick, yet very personal to make for your loved one, check out this tutorial on how to make Valentine’s day card with your embroidery.
For this project you will need:
- Fabric for embroidery, 17 x 17 cm (7 inches). I used white linen
- Embroidery hoop of 13 cm (5 inches)
- Embroidery floss of 2 different shades of pink. I used 2 strands of DMC floss #3608 and #3803
- Embroidery needle. I used DMC embroidery needle No. 8
- Water-soluble pen or friction pen for transferring a pattern of a fabric
- Heart-shaped pattern printed on paper.
- Sharp scissors
- Folded blank greeting card 13,5 x 13,5 cm (5,3 x 5,3 inches). I used already a precut one, but you can definitely make it yourself from the heavy paper (240 gsm would be perfect).
- Pencil
- Ruler
- Paper glue
First, embroider a heart on your chosen fabric
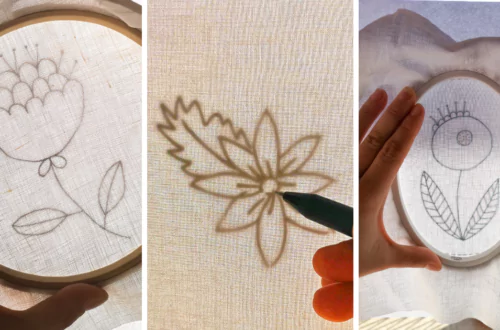
Start with placing the fabric into the hoop and transferring a pattern onto the fabric. You can do it against a sunny window. Use a friction pen or a water-soluble pen for transfer.
Read the article about pattern transferring with a lightbox method HERE, and more about tracing tools for hand embroidery HERE.
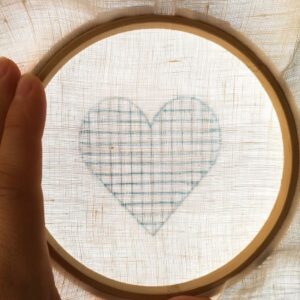
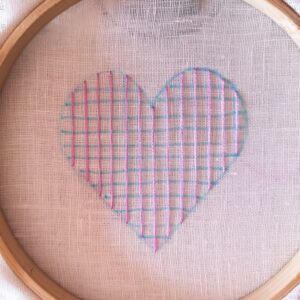
Embroider the heart. Start with vertical lines
Then, add horizontal lines
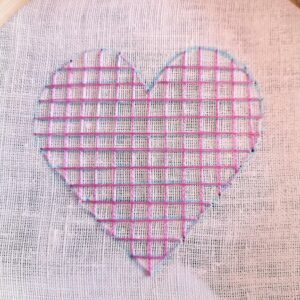
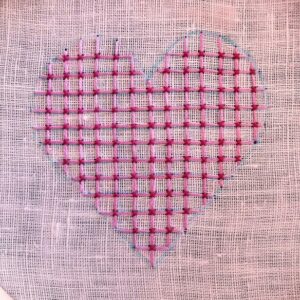
Make a small cross stitch on every crossing of the main threads with a contrasting color of the thread.
You can watch a video tutorial on how to make a Lattice stitch here
Outline the shape with a chain stitch.
You can watch a video tutorial on how to make a Chain stitch here
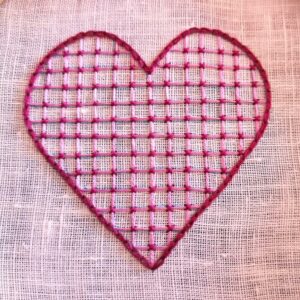
Wash, air dry and iron your finished piece. Cut the borders to make a 10 x 10 cm (4 inches) fabric square with your embroidered heart in the middle.
Now it’s time to make a card!
Draw the lines of the shape of the embroidery you want to attach on the paper card, leaving the edges of 0,5 cm (0.2 inches). If your embroidery is 10 x 10 cm – your square should be 9 x 9 cm, centered on the card.
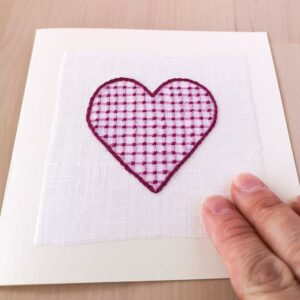
Apply the paper glue inside the shape you have drawn. Pay attention to not go out of the lines as the glue may leave glitter signs, and you don’t want that.
Attach the embroidery on the card. Start from the center and gently slide with your finger towards the edges, so no wrinkles would form and all the embroidery is attached evenly.
As we left 0,5 cm edges without the glue, you will need to additionally secure the corners of the embroidery. Apply some glue directly on the corner of the fabric and press it to the paper card. Repeat it with all the corners.
Leave it to dry for 20 min.
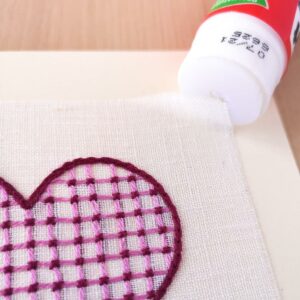
Write a lovely personal message inside and your card is ready!
