Blanket stitch filling in circles
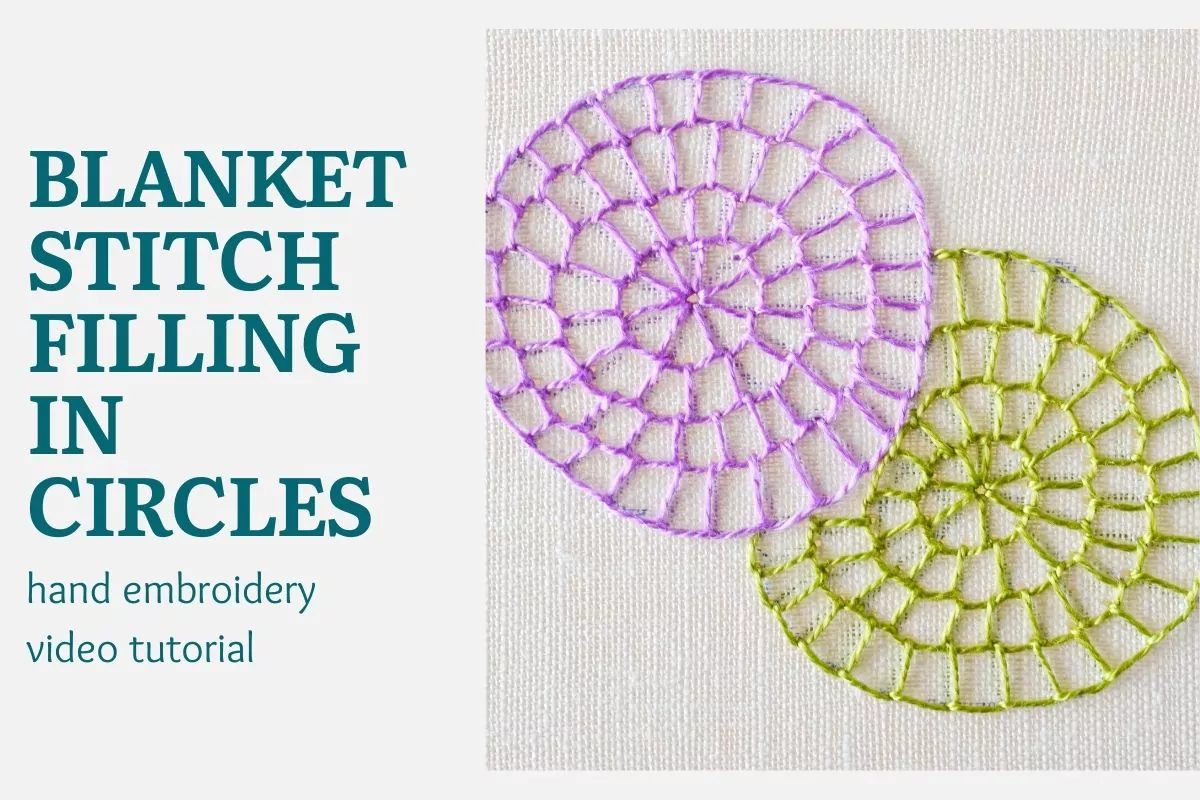
In this video tutorial, I demonstrate how to use a blanket stitch for filling in circles.
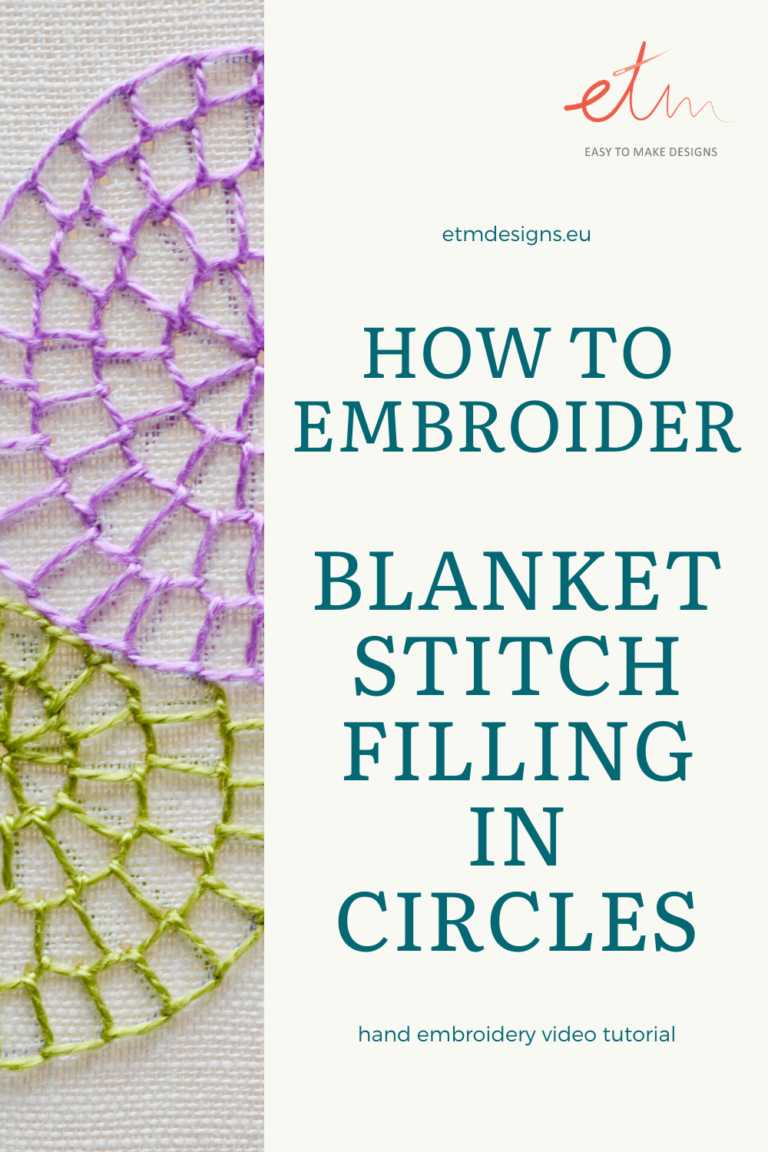
This way of filling is a blanket stitch filling variation. This stitch creates a beautiful netlike pattern. You can use it to fill spaces in your hand embroidery design. Also, this type of filling stitches looks great on patchworks and in mending clothes.
The method of embroidering a blanket stitch filling in circles is simple. First, embroider the circle with a blanket stitch. Then, add more rows of blanket stitches, one above the other, moving in the clockwise direction. If you need to embroider a half-circle, you can change the stitching order and make half rows back and forth.
The blanket stitch filling in circles will work best on irregular or round shapes. Also, it will look good in a mix with other filling stitches.
In this video tutorial, I used a pearl cotton thread for embroidery. You can choose the floss that will match your pattern and design best. Thin threads will look more like a spider web or laces. Bolder threads will create more daring designs. Also, you can play with colors and make every row of stitches in different colors.
Watch this video tutorial and learn how to embroider a blanket stitch filling in circles.
More variations of the blanket stitch for filling:
You will find more video tutorials in the tab Video tutorials of this Blog.
I add new video tutorials to my channel every week. To get notified when a new video goes live, subscribe to my YouTube channel and click on the bell right beside the button.
Or sign up for my newsletter and be the first to know when I release a new hand embroidery video, DIY tutorial, or blog post!

