Fairy lights stitch video tutorial
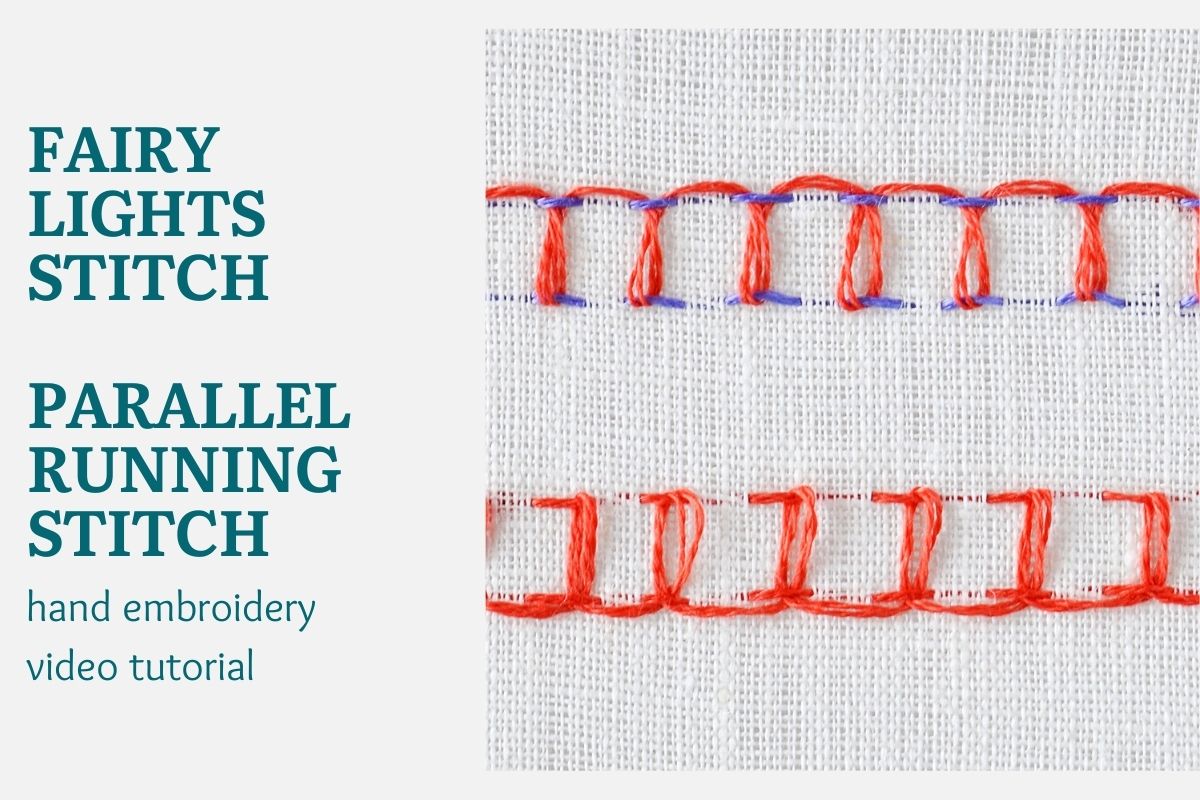
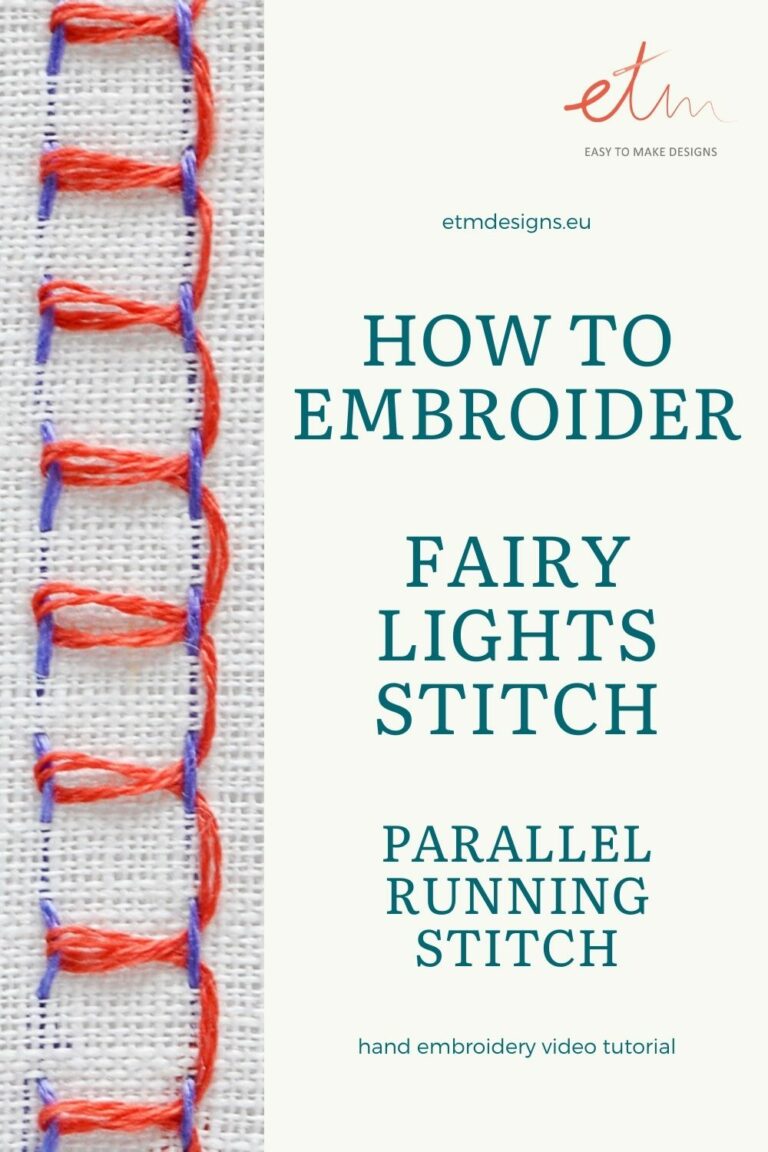
This video tutorial demonstrates how to embroider a parallel running stitch variation, also called a fairy lights stitch.
A fairy lights stitch is a hand embroidery stitch made in two steps. First, we embroider two parallel rows of a simple running stitch. The stitches in the rows are placed one under the other. The second step is lacing other threads through the parallel running stitches. We lace an embroidery floss through the two rows of running stitches to form a decorative motive.
We can use the same color both for running stitches and for lacing. Also, we can combine up to three different colors in this stitch. Besides that, you can add beads to this stitch and make it even more original.
The fairy lights stitch would look great in border designs or as a decorative motive on the seams or in quilting. You can combine this stitch with other decorative stitches or make a couple of rows of this stitch in different colors.
Some additional tips:
- Make all the running stitches the same length, so the final ornament is symmetric and fluid.
- Different lengths of the running stitches will create different patterns – play with it.
- Use a blunt needle, like a tapestry needle (or a back of the needle), for lacing. Be careful not to snag the running stitch or the fabric under and not to hurt your fingers if you use the eye of a regular embroidery needle.
Watch a video tutorial below and learn how to embroider the fairy lights stitch.
More variations of the running stitch:
You will find more video tutorials in the tab Video tutorials of this Blog.
I add new video tutorials to my channel every week. To get notified when a new video goes live, subscribe to my YouTube channel and click on the bell right beside the button.
Or sign up for my newsletter and be the first to know when I release a new hand embroidery video, DIY tutorial, or blog post!

