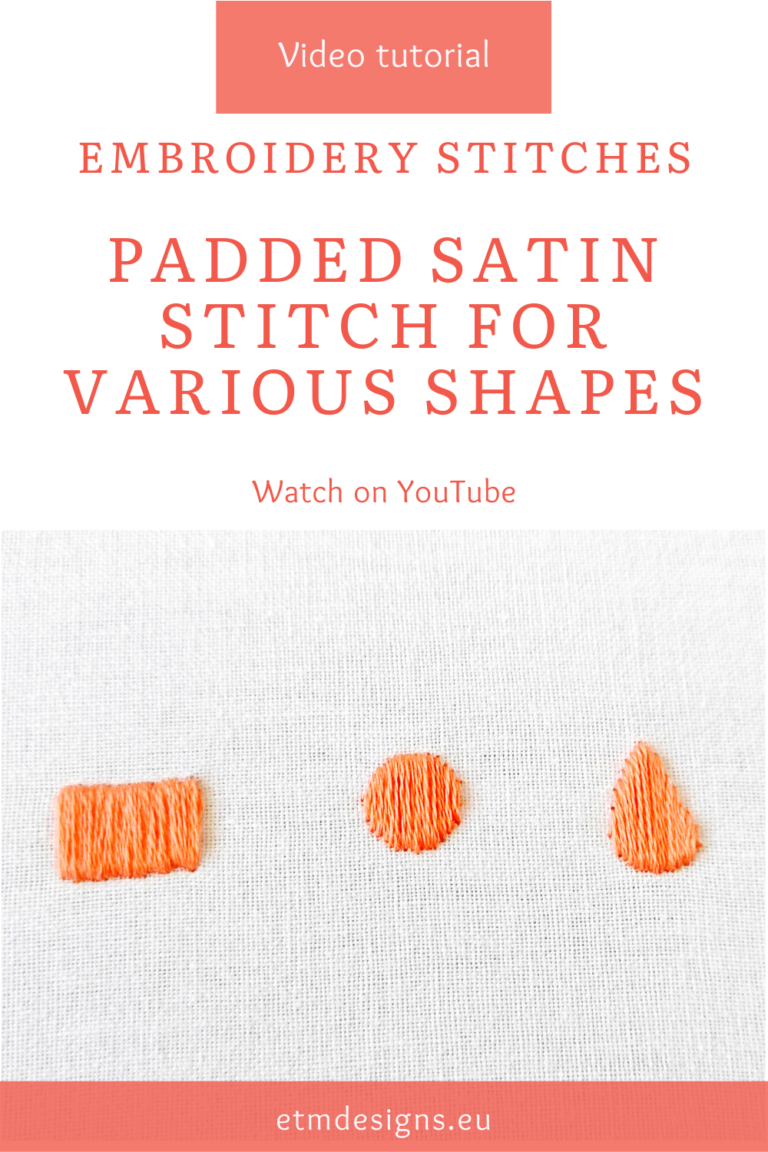
Padded satin stitch video tutorial
In this video tutorial, I show you how to embroider a padded satin stitch.
To work the Padded satin stitch, also called Raised satin stitch, you will need to outline and fill the stitch area first. For outlining use a split stitch or a stem stitch, and for the filling – seed stitch. After the filling, the work is the same as working the simple Satin stitch.
Watch this tutorial and learn how to embroider padded satin stitch.
I recommend also watching these video tutorials:
- Satin stitch
- Satin stitch for various shapes
- Padded Satin stitch for various shapes (below)
Are you looking for some other hand embroidery stitch tutorial? Check out my Blog’s tab Video tutorials or my YouTube channel and learn!
I add new video tutorials to my channel every week. To get notified when a new video goes live, subscribe to my YouTube channel and click on the bell right beside the button.
Or sign up for my newsletter and be the first to know when I release a new hand embroidery video, DIY tutorial, or blog post!
Looking for the hand embroidery pattern with Padded satin stitch?
Solar System hand embroidery pdf pattern and instructions
☆ PDF pattern and embroidery instructions that include: Material list; Printable embroidery pattern; Stitch guide; Color guide; Instructions for pattern transfer; Step by step embroidery instructions with photos; Instructions for finishing your embroidery in a hoop; List of embroidery resources – video tutorials and articles
☆ The pattern is written in English
☆ The size of the finished hoop – 4 inches / 10 cm.


