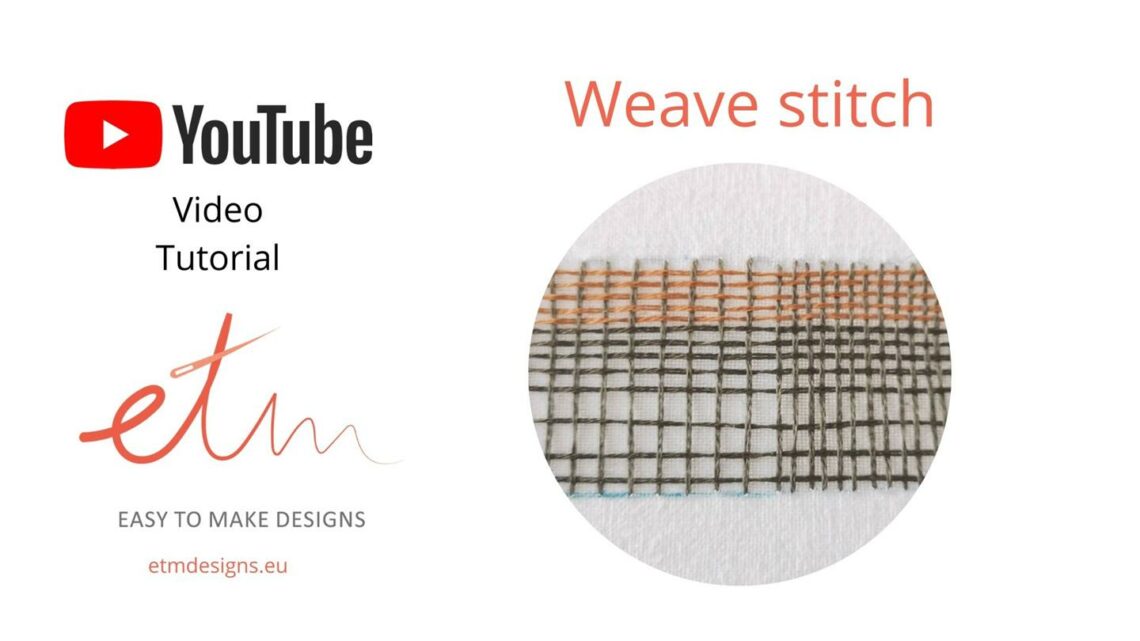
Weave stitch video tutorial
Weave stitch, also called Weaving stitch, is somewhere in between embroidery and weaving. There are many variations on how you can weave the threads in. Also, you can choose to attach the borders to the fabric (as shown in my video lesson) or weave the thread leaving open borders.
The space between stitches will define how dense your weaving will be. They can be laid very close to each other or spaced out widely. When you use this filling stitch some background fabric can be visible. Also, you can choose the vertical and horizontal threads of different colors. This will create beautiful patterns.
Start the stitch with making vertical stitches, filling all the height of the shape. It is important that stitches are parallel to each other and the spaces between stitches are even. Then, weave your thread horizontally through the previous stitches under every alternate stitch. Use a needle with a blunt tip or reverse the needle to avoid piercing the threads. Adjust the tension of the weaving thread as you go. This will help you to create even weaving. Then stick the needle in the fabric and up again a little bit further up where the next row of weaving will be made. Continue weaving alternating the stitches. The thread that was on top now goes under a weaving thread.
Want to learn more filling stitches? Read the article “Hand embroidery Filling stitches – part 1” in my blog.
Watch the video tutorial below to learn the Weave stitch
https://youtu.be/lA9MJKAjHG4
