Whipped running stitch video tutorial
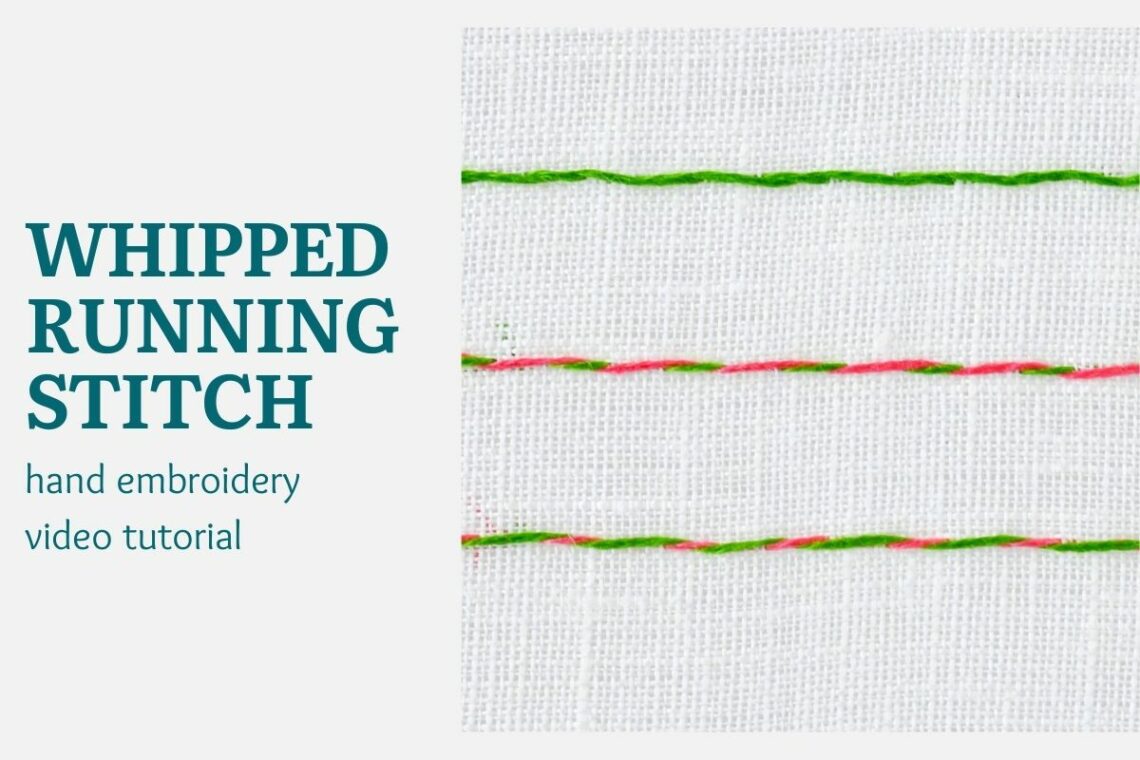
This video tutorial demonstrates how to embroider a whipped running stitch.
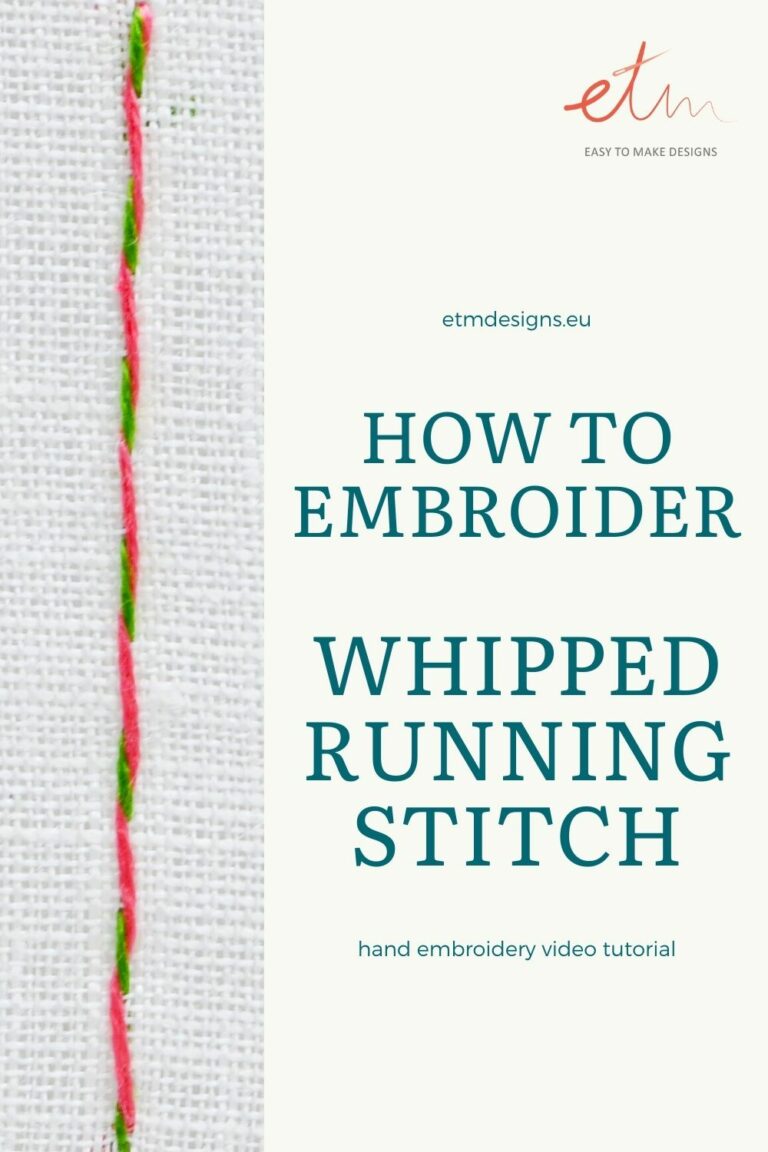
A whipped running stitch is a hand embroidery stitch made in two steps. First, we embroider a simple running stitch and then whip it with another thread. For example, you can use the same color thread to make a straight raised line or two contrasting colors to create a rope-like line.
Some additional tips:
- Try to make all the running stitches the same length so the final rope will be twisted equally.
- Use a blunt needle, like a tapestry needle (or a back of the needle), for whipping. Be careful not to snag the running stitch or the fabric under and not to hurt your fingers if you use the eye of a regular embroidery needle.
- If you want to use 2 colors for this stitch, keep in mind that a whipping thread will be more visible than the base stitch thread.
Watch a video tutorial below and learn how to embroider the whipped running stitch.
More variations of the running stitch:
You will find more video tutorials in the tab Video tutorials of this Blog.
I add new video tutorials to my channel every week. To get notified when a new video goes live, subscribe to my YouTube channel and click on the bell right beside the button.
Or sign up for my newsletter and be the first to know when I release a new hand embroidery video, DIY tutorial, or blog post!

