How to organize embroidery floss
If you want to organize your embroidery floss, you need to create a system that will work well for your needs in the long term.
When you think about the floss organizing system, the first question to consider – why do I do that? Why do we need to organize our embroidery floss stash?
Benjamin Franklin said, “For every minute spent in organizing, an hour is earned.” And I agree with every word!
- When your floss is organized and in order, it is easy to find the colors you need for your new project.
- When you know how much of which color floss you have, you don’t buy floss you already have.
- Organized tools and materials will make your work smoother, faster, and more enjoyable.
- Order in things leads to order in the mind and calmness.
If you decided to organize your embroidery floss, there are some things to take into consideration. To choose the best for your floss storage system, you need to make some decisions. These questions will help you decide on the embroidery floss storage system:
- How many skeins of embroidery floss do you have?
- Is this number going to grow, and how much?
- Do you embroider at home, or do you carry your projects when you travel?
- How much do you want to spend on organizing the floss?
- How many different types of thread and floss do you use?
- Do you use the floss of one producer or mix them?
- Do you use threads of one kind per project or combine them?
- Do you have a dedicated working space/ studio?
- Do you want your floss collection on the show or hidden away out of sight?
- How much space do you have for floss storage?
Your answers to these questions will help you evaluate every floss storage option listed below.
Now, when you know why you organize and what your needs are, let’s see what floss organization options there are in the wide world of hand embroidery.
Group your thread and floss
First, you should choose if you will group your floss by:
- Visible color
- Color code number
- Thickness
- Type
- Producer
Grouping your thread by visible color is convenient if you use all types of threads, floss, or yarn in the same project. Also, if you use only embroidery floss, but by different brands. In this case, it’s better to have all the choices by hand at the same time.
Grouping by color code number is the best choice if you use one type of floss by one producer. For example, if you use only DMC cotton floss for all of your projects, group your floss by color codes.
Grouping by thickness is useful if you use different floss types for various projects and don’t mix them in one embroidery. For example, you can separate cotton floss and pearl cotton.
Grouping by floss type will be the best option if you use different threads for different projects. Separate wool from cotton and silk, and you will have a clear choice of threads when you need to decide on the new project.
Grouping by floss producers would be useful if you have a lot of embroidery floss by different brands. After you separate floss by producer, separate one more time by color codes.
After dividing your floss stash by groups, it will be more obvious which storage system would work best for you.
Floss storage systems
Floss storage systems consist of two main parts:
Part one – how do you want to wind your floss? Do you like to keep your floss in a skein? Or you prefer to wind it on a bobbin?
Part two – where do you want to keep your floss? Drawer, box, pegboard, or jar?
Floss winding options:
Original skeins
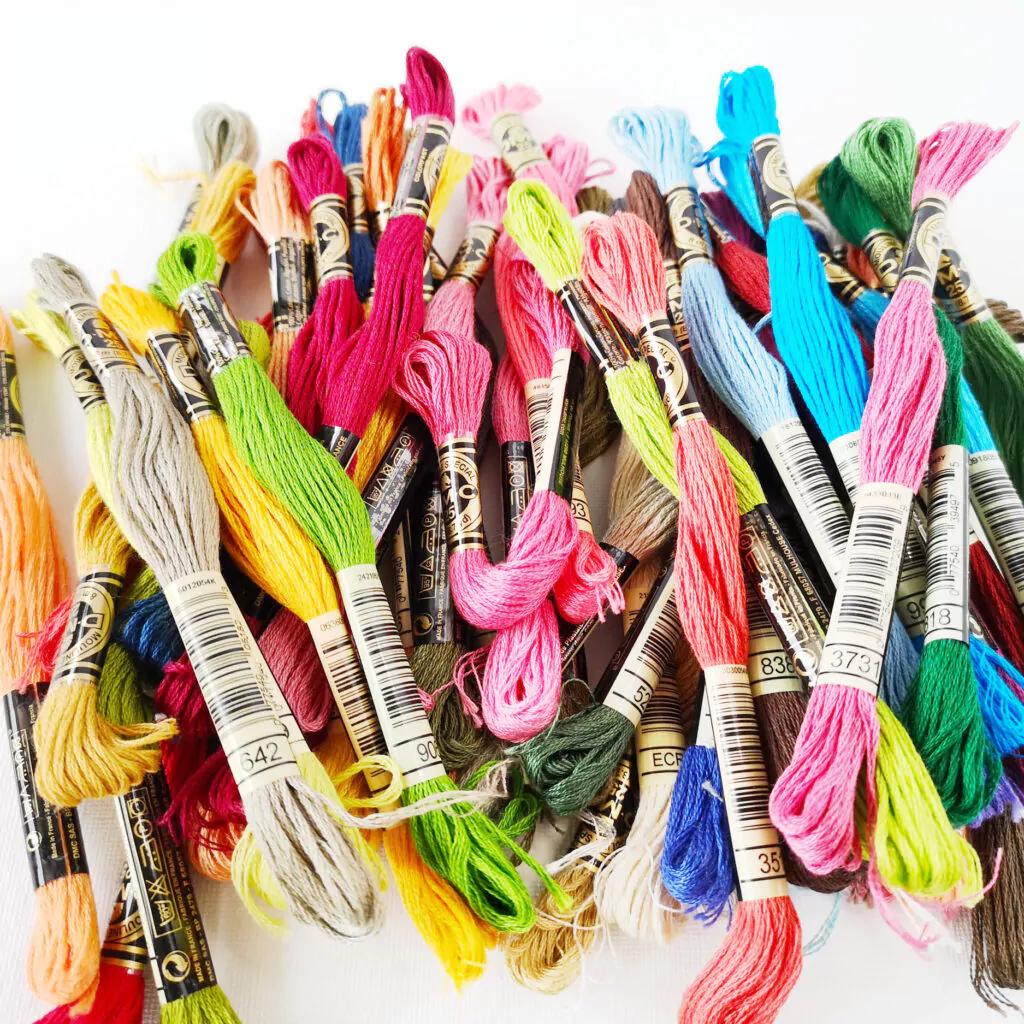
If you like simple solutions, this one’s for you. No braiding, winding or assembling needed. Just keep your floss as it is – in the original skein.
If you like this “winding” option – choose pocket organizers or zip lock bags for storing. Otherwise, you risk having a big ball of tangled floss
Bobbins
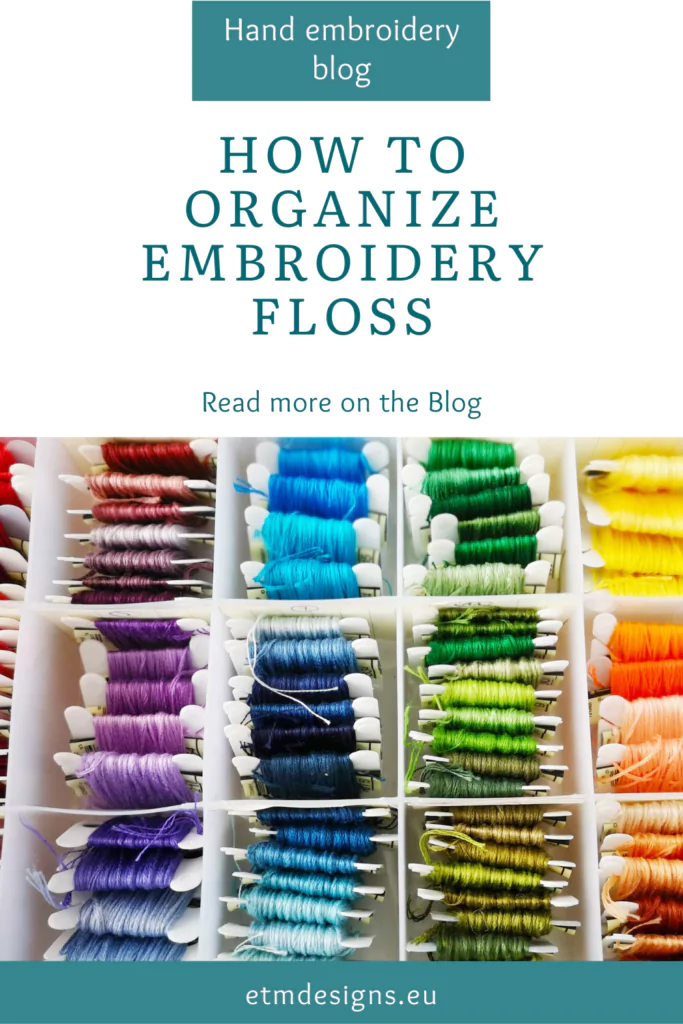
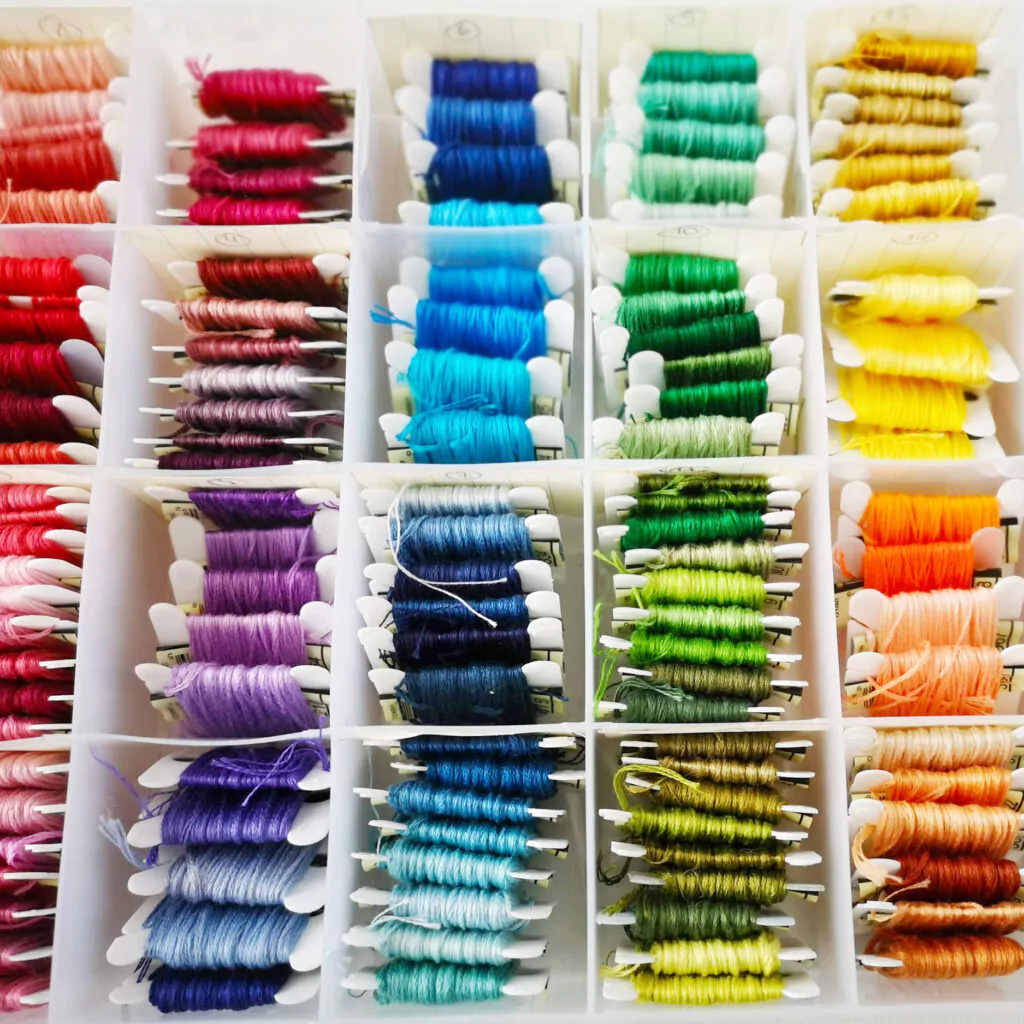
Floss bobbins are a very convenient (my favorite) way to wind the floss. You can buy simple plastic bobbins, cute wooden bobbins in the shape of an animal or flower, or even make them from cardboard.
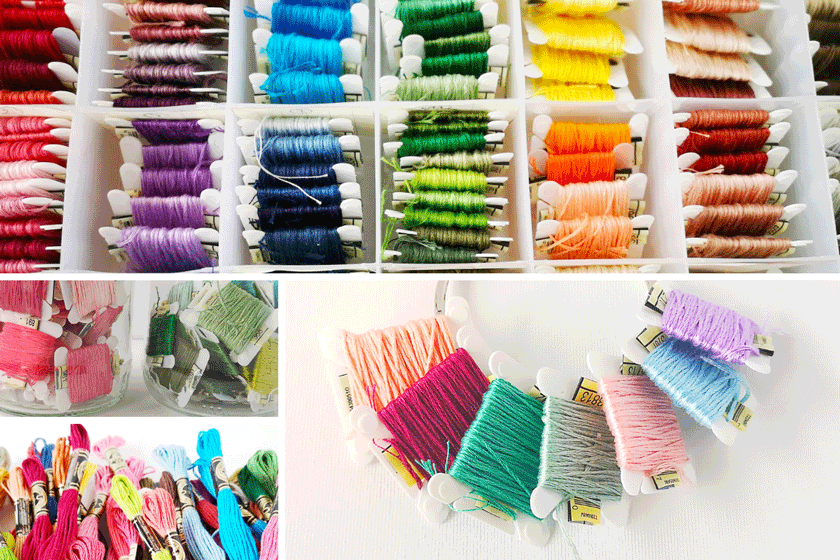
Wind the floss on your chosen bobbins, write the color code, and keep them in the plastic organizer boxes, drawers, organizer pockets, or on a metal ring for traveling.
If you want to try this floss winding option, watch a video tutorial HERE.
Clothespins
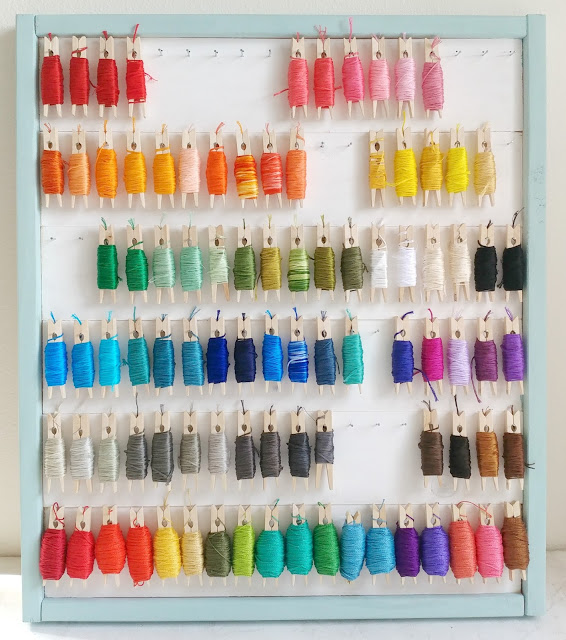
One more simple way to wind the floss is to use wooden clothespins—simple, cheap, and convenient winding option. Floss winded on the clothespins can be stored in the drawers, boxes, display boards, organizer pockets, or even jars.
Check out the tutorial of Ameroonie designs HERE and make your own floss organizer with clothespins.
Craft stick spools
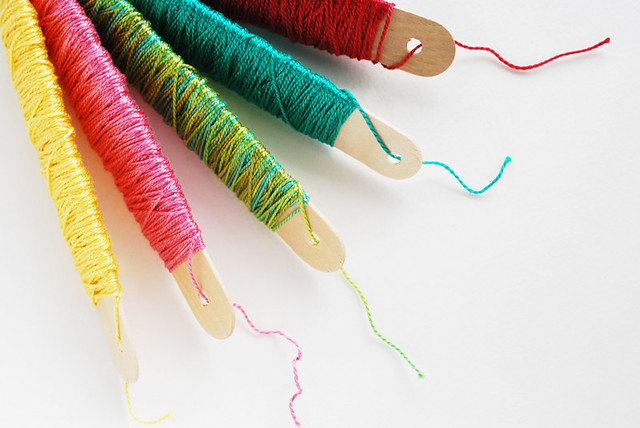
If you decided to wind your floss, you might consider this option too. You can wind embroidery floss or pearl cotton yarn on the craft sticks. Floss winded on the craft stitch spools can be stored in the drawers, boxes, organizer pockets, on metal rings, or even jars.
Wild Olive has created a simple tutorial on how to wind your floss on the craft stick spools. Click HERE to read a full tutorial.
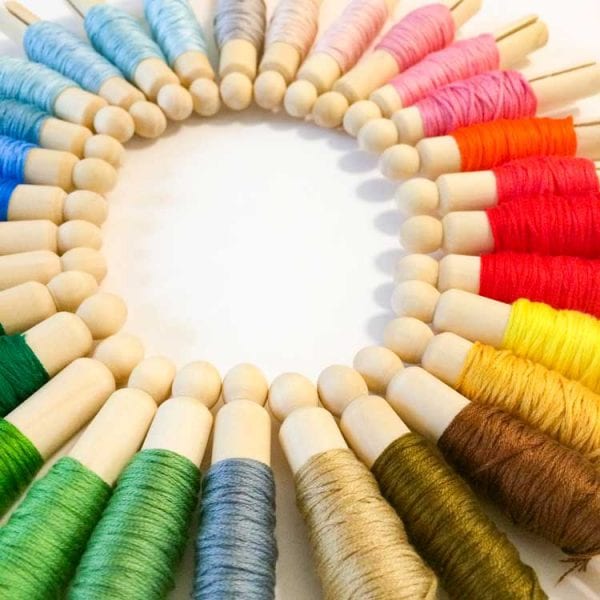
Wooden dolly pegs
Dolly pegs are an excellent alternative for storing your embroidery floss. Simply roll your embroidery floss around the peg and keep it in a basket, box or drawer. Studio Koekoek has lovely wooden dolly pegs.
Stitchbow system by DMC
This is an original DMC floss storage system. Bows are made to fit the floss skein, so you don’t need to wind the floss.
Binder inserts that fit the bows are also available in the DMC shop.
Project cards
Project cards are the rectangles of stiff cards with the holes punched on one side. Each hole is meant for one skein of floss.
To attach the floss, first cut the skein into your ideal stitching length. Then fold the bundle in half and push the folded end through the hole, forming a loop. Pass the cut ends through the loop and pull firmly. You can write a color code and the floss brand on the card next to the hole.
This storage system works well for cotton embroidery floss and is widely used by cross stitchers.
I don’t like this system because you need to cut all your floss into pieces of the same length before placing them into storage. I want to decide the length of the thread depending on the project I work on.
Floss braids
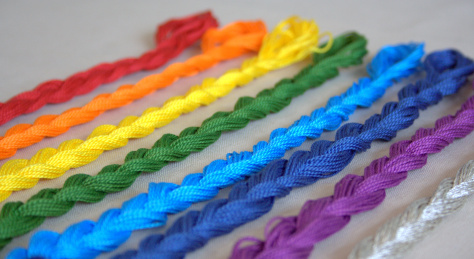
One more way to keep precuted floss is to braid it. You can keep braided floss on a metal ring, in the ziplock bags or pocket organizers, or even on display.
Night Quilter has a tutorial on how to braid your floss on her Blog. Click HERE for a full tutorial.
Floss storage options:
Boxes or drawers
If you have a small amount of floss, you can keep it all in one box or drawer. Also, you can have more boxes/ drawers for different thread groups. For example, a box/drawer for pink threads, one more for red ones, and the other blue ones.
Or a box/drawer for cotton floss, one more for pearl cotton, and one more for silk threads.
This storage option will work with almost every type of floss winding solution. Bobbins, skeins, ziplock bags, or project cards can be stored in boxes or drawers.
Plastic organizer boxes
This storage system is very convenient for cotton embroidery floss. The organizer boxes are transparent, allowing you to see the color range without opening the box.
This storage system works the best if you wind your floss on the bobbins and organize your floss by color codes or by visible color.
Binders
The binders are the best to keep your floss on storage cards. In one binder, you can add as many of the cards as you need.
You can also keep pocket organizers in the binder.
Pocket organizers
It is a system of small pockets made to fit your floss. The sizes of “pockets” may vary from a small one to hold a bobbin to a big one (half A4) to fit several full skeins of floss. For example, DMC offers pocket organizers made to store floss winded on stitch bows.
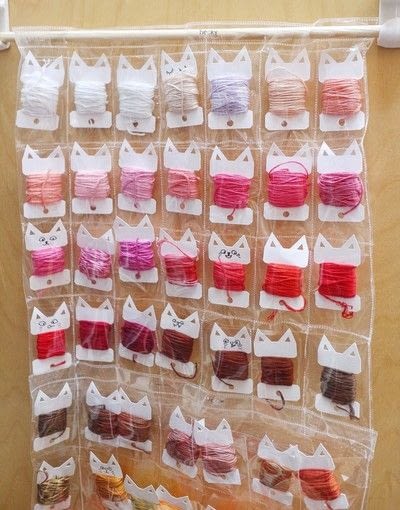
Also, pocket organizes vary in size. You can find a small foldable pocket organizer ready to accommodate 24 bobbins of floss, a large pocket organizer to hang on a wall, or aA4 size page made to fit a binder.
Use pocket organizers to store your floss winded on bobbins, stitch bows, braids, or clothespins.
If you want to make your own wall pocket organizer – Cut Out and Keep has a tutorial on that. Check it out HERE.
Pegboard or display board
If you have a dedicated working space for your crafts, you may consider putting your floss on display. Pegboards with floss bobbins or clothespins would make an excellent decoration for your studio.
You can use a pegboard with pegs, hooks or make your own display board from a corkboard.
Keep in mind that this storage solution will not protect your floss from dust and direct sunlight.
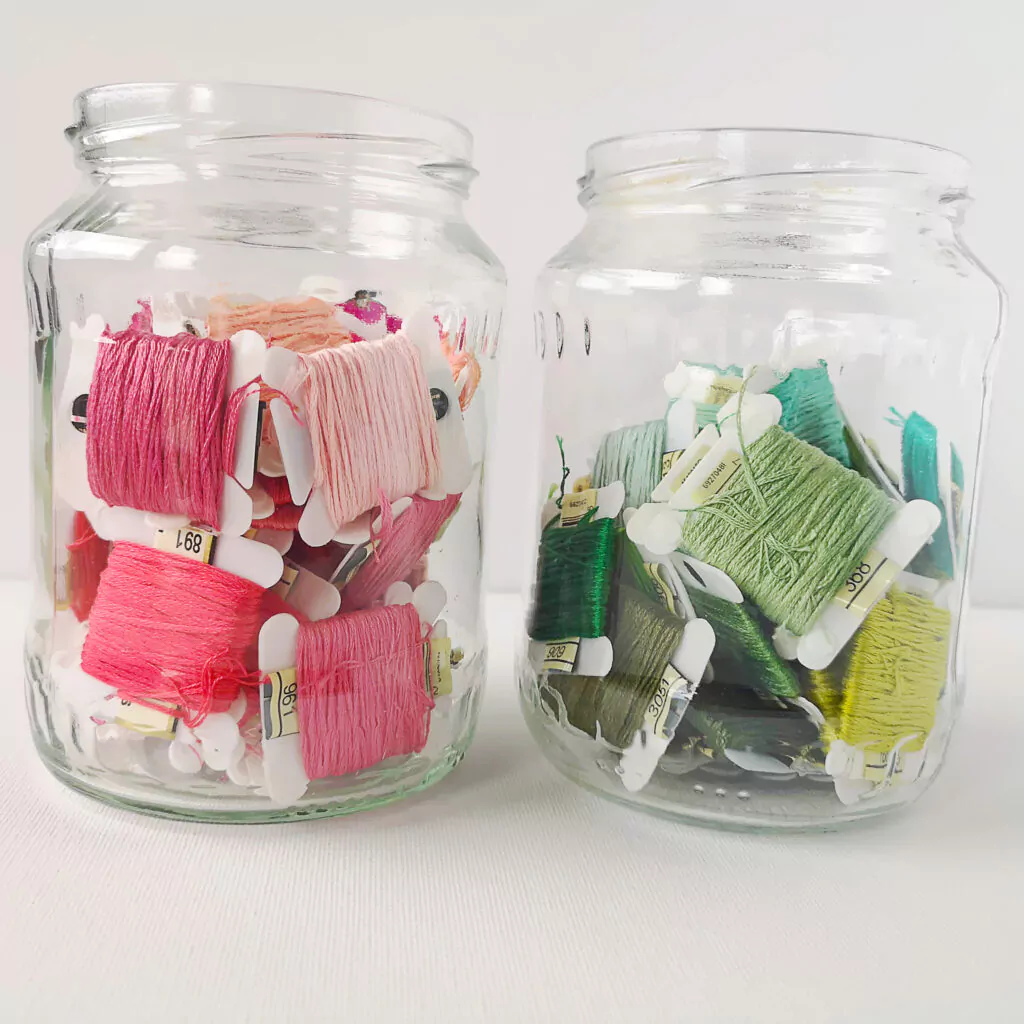
Glass jars
One more beautiful way to display your floss collection is to place bobbins, clothespins, or craft stick spools in the jars. This floss storing solution will protect your floss from dust and make a nice decoration for your working space.
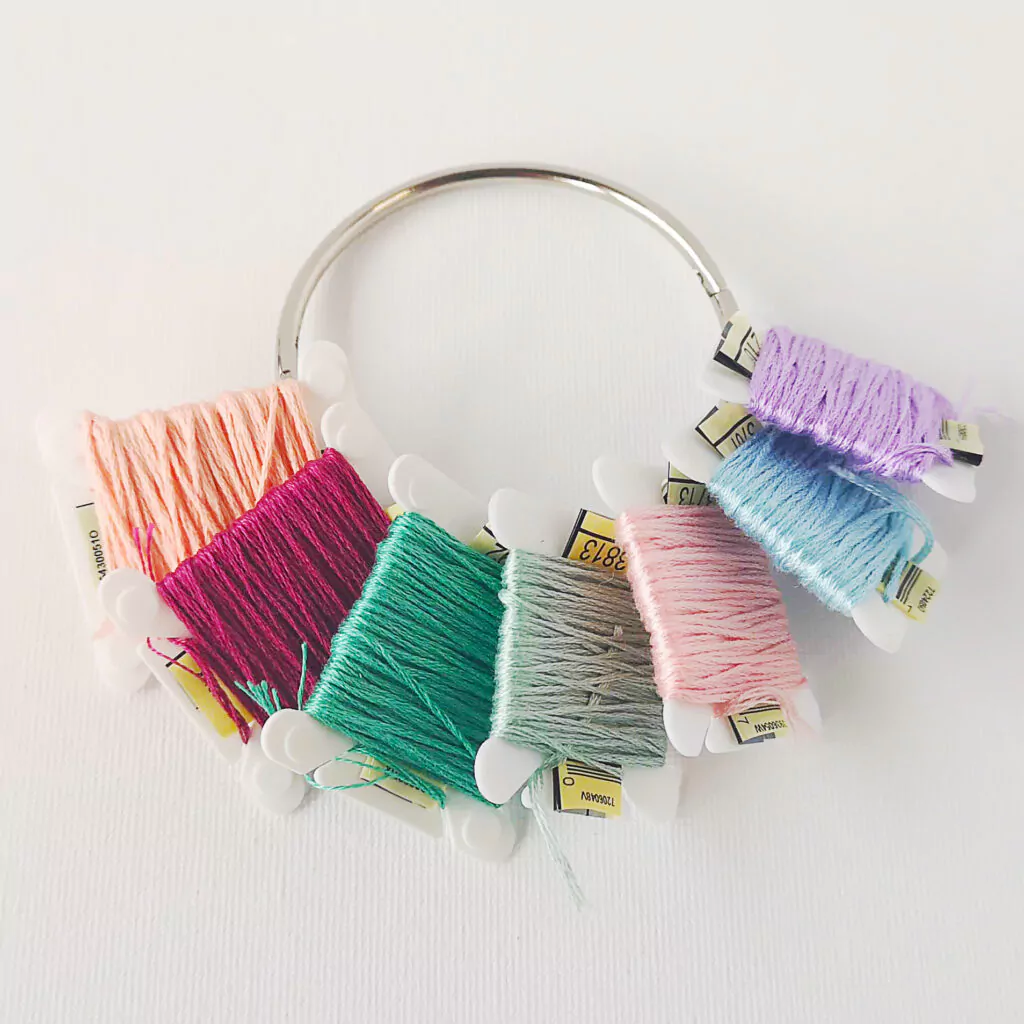
Metal rings
If you have a decently small amount of floss or you need to separate some floss for a project you are working on, use metal rings to hold your floss. If your floss is winded on bobbins, craft sticks, or braided, you can use a metal ring to keep all the floss in one place.
Floss organization and storage system I use
I have a lot of embroidery floss by DMC. Also, I have some pearl cotton threads, rayon floss, vintage floss, metallic threads, and even some ribbon for embroidery.
I decided that first, I want to group my floss by type. So I separated all the threads.
Then, I chose the best storage system for each thread type:
- My embroidery cotton floss is winded on the plastic bobbins. I keep it in the plastic organizer boxes grouped by color codes. When I work on a new project, I put all the colors I need for that project on a metal ring. I like to take my floss with me when we go on holiday, so this storage system is perfect for my needs. Also, I keep a .xls sheet to keep track of all the stock of the floss I have.
- I keep all of my pearl cotton in one drawer.
- For metallics, rayon floss, and vintage floss, I have a separate organizer box. I take it out when I need some of these threads.
- My ribbons are grouped by width, and I keep them in ziplock bags in one drawer.
With this floss storage system in place, I know well what floss and thread I own and where I can find it fast.
